
5 Easy Crochet Coaster Ideas (+ How to Make Them!)
This post contains affiliate links.
Small projects = big satisfaction. Crochet coasters are one of my all-time favourite quick makes: perfect for practice, thoughtful as gifts, and incredibly useful around the home.
But basic coasters can get a little dull. This post covers five different coasters featuring texture, playful shapes, and modern patterns to keep your crochet journey fresh and exciting.
If you love quick, satisfying crochet projects that are perfect for gifts, home décor, or stash busting — you’re in the right place!

5 Crochet Coaster Ideas for Beginners
Crochet coasters are one of my favourite ways to experiment with new stitches, patterns, and colour combinations without committing to a large project. I often test new techniques on a coaster first — they’re quick to finish, use very little yarn, and there’s no stress if it doesn’t work out.
They also make thoughtful, practical gifts that people actually use. Perfect for your own home or a personalised housewarming gift, crochet coasters are satisfying to make and useful in everyday life.
In this post you’ll find one fully free coaster pattern you can start right now, plus four crochet coaster ideas to inspire your next project.
👇 Scroll down for the free pattern!
👉 Want all 5 coaster patterns? — the other four are available in the Crochet Coaster Pattern Bundle.
Beginner-Friendly Crochet Coaster Patterns
1. Basic Round Crochet Coaster

This round coaster is one of five designs included in the Crochet Coaster Pattern Bundle.
Simple, classic, and perfect for beginners. If you can single crochet in the round, you can make this coaster. It’s a staple in any crochet repertoire.
Why’s it great for beginners?
Because it teaches you how to crochet in the round without the headache of complicated stitches.
Plus, it works up fast. In less than 30 minutes, you’ve got a sturdy, reliable coaster ready for your favorite coffee mug.
ROUND COASTER PATTERN
Materials:
Finished size: Approximately 10-11cm (4-4.5") diameter
Stitches used: Magic Ring, Single Crochet, Slip Stitch
Crochet Terminology: US, with UK in brackets
PATTERN INSTRUCTIONS:
-
PATTERN INSTRUCTIONS:
Foundation
Make a magic ring.
(Alternatively, chain 2, slip stitch into the first chain to form a ring, then work into the centre.)Round 1
Work 8 single crochets into the ring.
Pull the ring closed.
Slip stitch into the first stitch to join.
[8 stitches]
Round 2
Chain 1. (Does not count as a stitch.)
Work 2 single crochets into each stitch around.
Slip stitch to join.
[16 stitches]
Round 3
Chain 1.
Work 1 single crochet into the next stitch, then work 2 single crochets into the following stitch — repeat around.
Slip stitch to join.
[24 stitches]
Round 4
Chain 1. (Does not count as a stitch.)
Work 1 single crochet into each of the next 2 stitches, then work 2 single crochets into the following stitch — repeat around.
Slip stitch to join.
[32 stitches]Round 5
Chain 1. (Does not count as a stitch.)
Work 1 single crochet into each of the next 3 stitches, then work 2 single crochets into the following stitch — repeat around.
Slip stitch to join.
[40 stitches]
Round 6
Chain 1. (Does not count as a stitch.)
Work 1 single crochet into each of the next 4 stitches, then work 2 single crochets into the following stitch — repeat around.
Slip stitch to join.
[48 stitches]
Round 7(optional, for a larger coaster)
Chain 1. (Does not count as a stitch.)
Work 1 single crochet into each stitch around.
Slip stitch to join.
[48 stitches]
Fasten off and weave in all ends securely.
Optional: Block flat by lightly dampening and pressing under a book until dry.
SIZE GUIDE:
Through Round 4 (32 sts): ~8cm (3") - small coaster/drink mat
Through Round 5 (40 sts): ~10cm (4") - standard coaster
Through Round 6 (48 sts): ~11-12cm (4.5") - large coaster/mug mat
Recommendation: Stop at Round 5 or 6 depending on preference.
-
PATTERN INSTRUCTIONS:
How It's Done
Foundation
Make a magic ring.
(Alternatively, chain 2, slip stitch into the first chain to form a ring, then work into the centre.)Round 1
Work 8 double crochets into the ring.
Pull the ring closed.
Slip stitch into the first stitch to join.
[8 stitches]
Round 2
Chain 1. (Does not count as a stitch.)
Work 2 double crochet into each stitch around.
Slip stitch to join.
[16 stitches]
Round 3
Chain 1.
Work 1 double crochet into the next stitch, then work 2 double crochets into the following stitch — repeat around.
Slip stitch to join.
[24 stitches]
Round 4
Chain 1. (Does not count as a stitch.)
Work 1 double crochet into each of the next 2 stitches, then work 2 double crochets into the following stitch — repeat around.
Slip stitch to join.
[32 stitches]
Round 5
Chain 1. (Does not count as a stitch.)
Work 1 double crochet into each of the next 3 stitches, then work 2 double crochets into the following stitch — repeat around.
Slip stitch to join.
[40 stitches]
Round 6
Chain 1. (Does not count as a stitch.)
Work 1 double crochet into each of the next 4 stitches, then work 2 double crochets into the following stitch — repeat around.
Slip stitch to join.
[48 stitches]
Round 7(optional, for a larger coaster)
Chain 1. (Does not count as a stitch.)
Work 1 double crochet into each stitch around.
Slip stitch to join.
[48 stitches]
Fasten off and weave in all ends securely.
Optional: Block flat by lightly dampening and pressing under a book until dry.
SIZE GUIDE:
Through Round 4 (32 sts): ~8cm (3") - small coaster/drink mat
Through Round 5 (40 sts): ~10cm (4") - standard coaster
Through Round 6 (48 sts): ~11-12cm (4.5") - large coaster/mug mat
Recommendation: Stop at Round 5 or 6 depending on preference!
✯ Tips:
Use a stitch marker to mark the beginning of each round
Cotton yarn is ideal for absorbent, heat-resistant coasters
Block your finished coaster by dampening it and laying flat to dry for a perfectly round shape
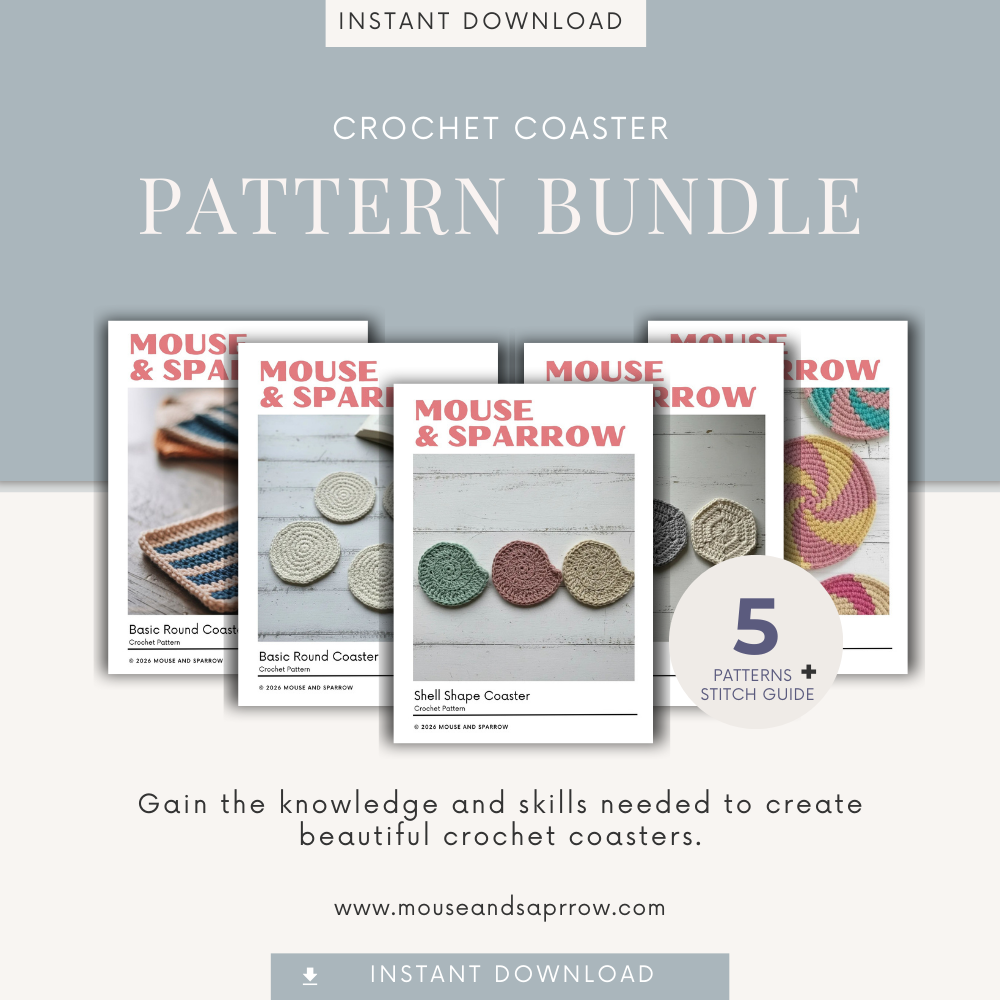
If you enjoyed making this round coaster, you might like having the full set!
I’ve created a collection of five beginner-friendly coaster patterns — designed to work beautifully together and help you build confidence as you go. If you’re planning to make more than one, the bundle is the best value for $15 through March only.
Inside the bundle you’ll find:
Striped Square Coaster
Flat Hexagon Coaster
Shell-Shaped Coaster
Striped Spiral Coaster (tapestry technique)
Complete Stitch Guide PDF
👉
2. Hexagon Coaster
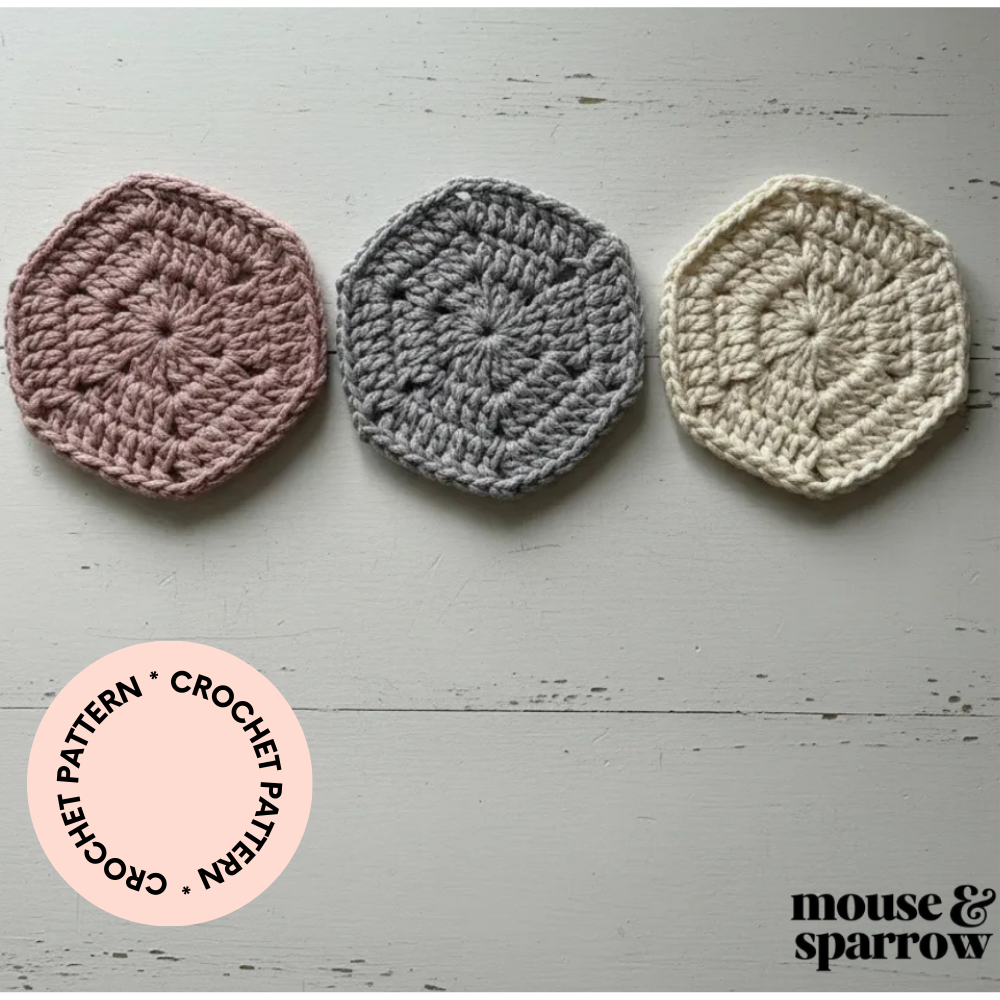
Create a beautiful, practical crochet coaster with this beginner-friendly hexagon design.
Perfect for quick wins, thoughtful gifts, or building your crochet confidence one project at a time.
What’s Included
✔ Hexagon Shaped Crochet Coaster Pattern (PDF)
✔ Stitch Guide
✔ Instant Digital Download
Download immediately after purchase and start right away.
Skill Level
Confident Beginner
US terminology (UK equivalents included).
Finished Size
Approx. 10 cm / 4 in
(Size may vary slightly depending on yarn and tension.)
This Pattern Is Perfect If You Want
• A quick project you can finish in one sitting
• Stylish coasters that actually get used
• A small, confidence-building crochet win
• A design that looks impressive but stays simple to make
⬡ Hexagon Crochet Coaster
This flat hexagon coaster is worked in joined rounds, using simple stitch groups and chain spaces to create clean, geometric edges.
The structured shape gives it a modern feel and makes it perfect for arranging in coordinated sets. It also blocks beautifully, leaving you with a crisp, polished finish.
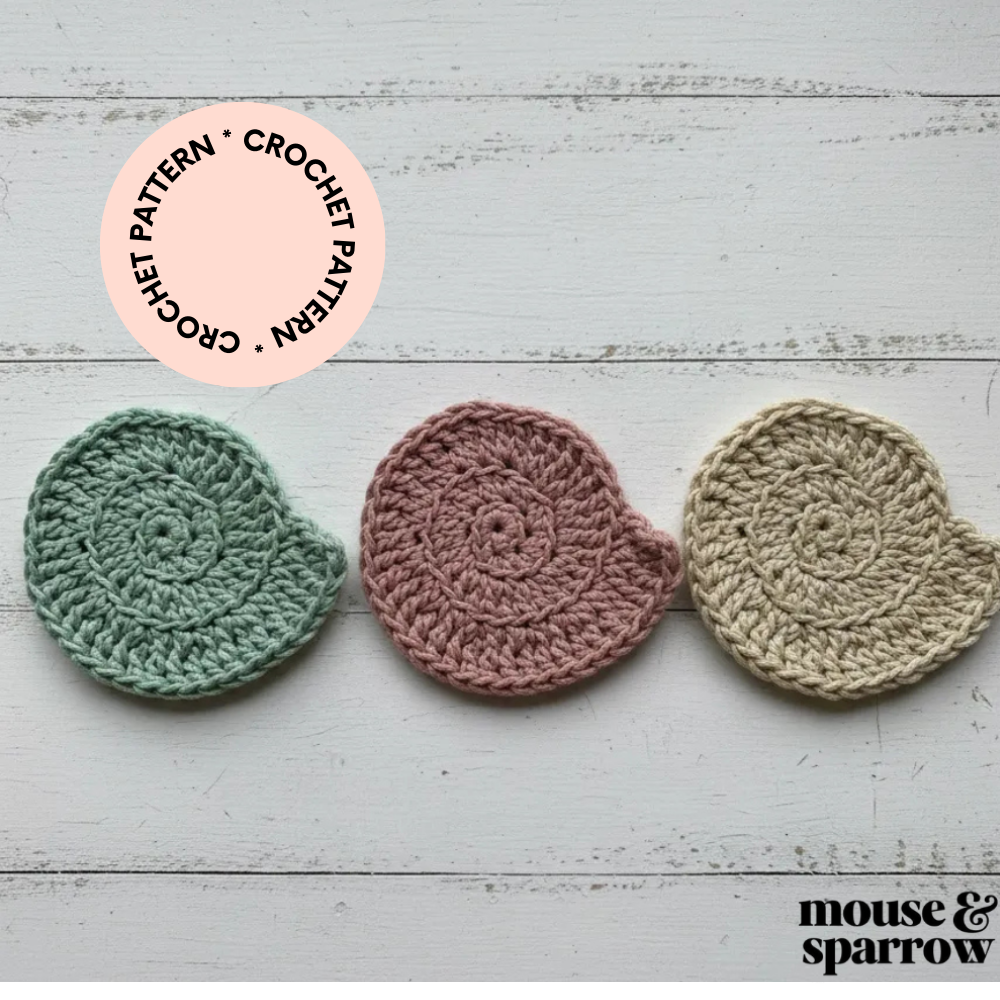
3. Shell Shape Coaster
Create a beautiful, practical crochet coaster with this beginner-friendly shell design.
This pattern is designed to give you clean results without second-guessing — so you can relax, follow the steps, and actually enjoy the process.
Perfect for quick wins, thoughtful gifts, or building your crochet confidence one project at a time.
What’s Included
✔ Shell Shaped Crochet Coaster Pattern (PDF)
✔ Stitch Guide
✔ Instant Digital Download
Download immediately after purchase and start right away.
Skill Level
Confident Beginner
US terminology (UK equivalents included).
Finished Size
Approx. 10 cm / 4 in
(Size may vary slightly depending on yarn and tension.)
This Pattern Is Perfect If You Want
• A quick project you can finish in one sitting
• Stylish coasters that actually get used
• A small, confidence-building crochet win
• A design that looks impressive but stays simple to make
🐚 Shell-Shaped Coaster
This shell-shaped coaster is worked from the centre outward, gradually forming a soft, fanned shape.
The subtle texture adds just enough detail to make it feel special, while still staying beginner-friendly. It’s perfect for adding a decorative touch to everyday coffee breaks or relaxed table settings.
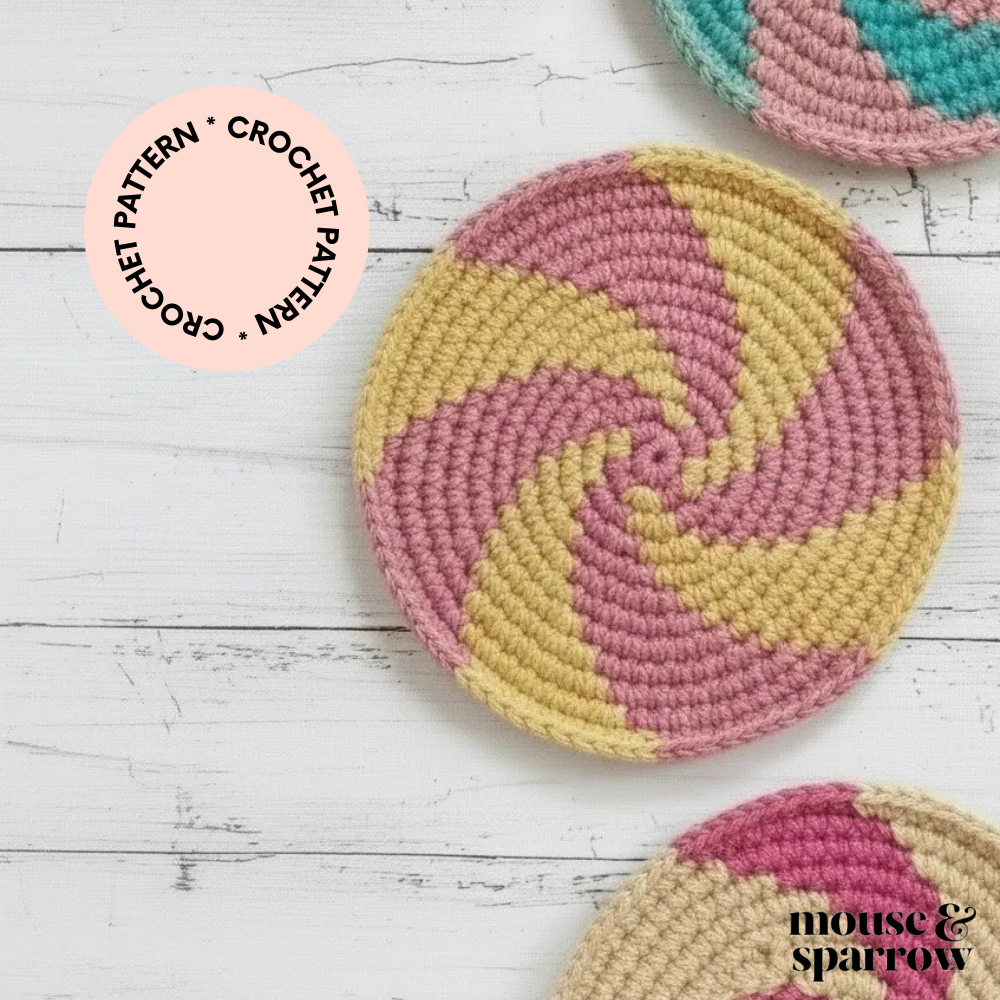
4. Striped Spiral Coaster Pattern
Create a beautiful, practical crochet coaster with this crochet pattern.
Perfect for quick wins, thoughtful gifts, or building your crochet confidence one project at a time.
What’s Included
✔Striped Spiral Coaster Pattern
✔ Stitch Guide
✔ Instant Digital Download
Download immediately after purchase and start right away.
Skill Level
Confident Beginner
US terminology (UK equivalents included).
Finished Size
Approx. 10 cm / 4 in
(Size may vary slightly depending on yarn and tension.)
This Pattern Is Perfect If You Want
• A quick project you can finish in one sitting
• Stylish coasters that actually get used
• A small, confidence-building crochet win
• A design that looks impressive but stays simple to make
🌀 Striped Spiral Coaster
This striped spiral coaster is worked in a continuous round, with smooth colour changes that create a flowing, eye-catching design.
The subtle tapestry technique adds bold contrast while keeping the coaster sturdy and practical — perfect for everyday use with a little extra personality.
5. Striped Square Coaster
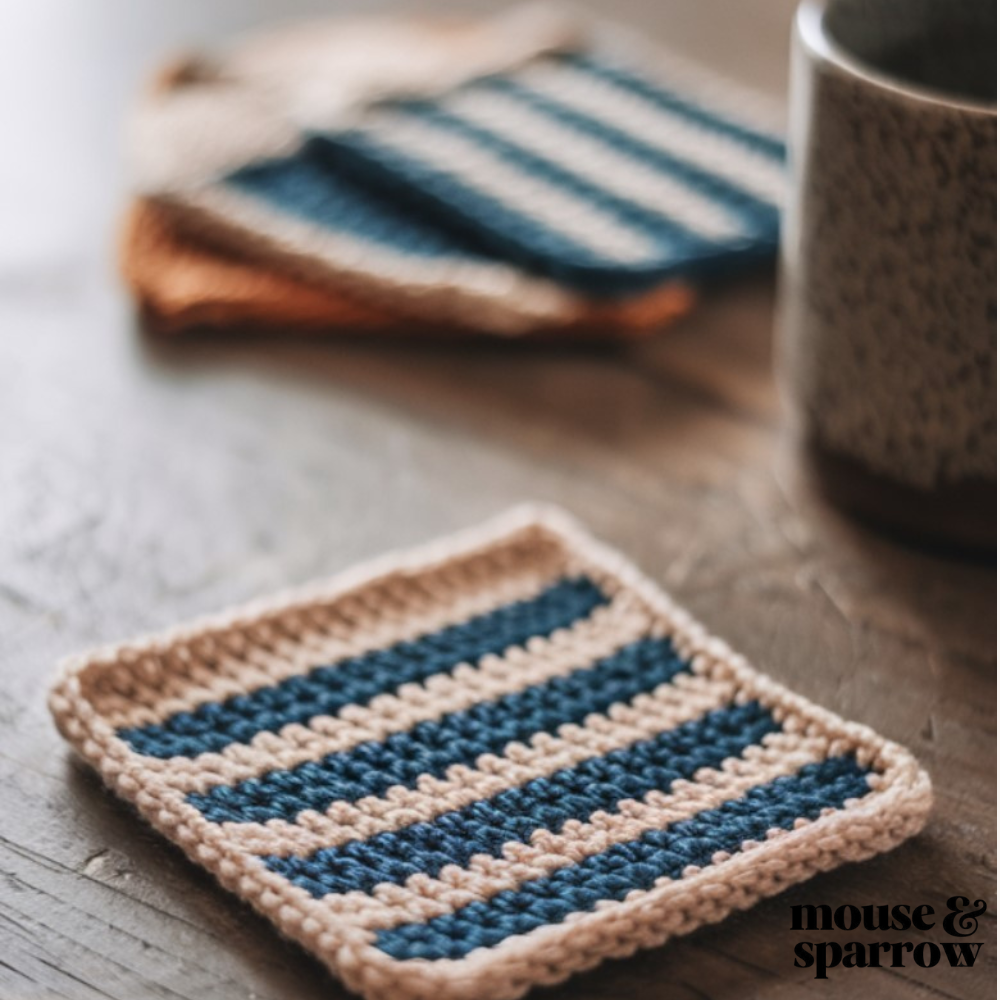
This striped square coaster is worked back and forth in rows, creating clean edges and bold, modern stripes. Colour changes every two rows give it a balanced, graphic look that’s easy to customise with your favourite colour combinations. It’s a great option if you prefer working in rows and want a coaster that feels contemporary and structured.
👉 The full pattern is included in the Crochet Coaster Pattern Bundle.
Stitch, Gift, Repeat: Your Coaster Journey Begins Now
Crochet coasters are one of the easiest ways to build confidence quickly — small projects, clear structure, and something useful at the end.
If you’d like to make more than one design, the full 5-pattern Crochet Coaster Collection is available for $15 through March (regularly $21). It’s perfect for creating coordinated sets or keeping a few ready for gifts.
👉 Get the full Crochet Coaster Collection
Or, if one design caught your eye, you can grab any pattern individually and start right away.
However you choose to begin, enjoy the process — and don’t overthink it. Simple projects can be surprisingly satisfying.
What’s Next?
Pin this post: Save this tutorial to your Pinterest boards so that you can come back to it later.
Leave a comment: We love to hear your feedback. Tell me in the comments below!
If you enjoyed this free pattern and want to make a full set of stylish coasters, grab the Coaster Pattern Bundle — instant download, beginner-friendly, and beautifully coordinated.
👉 View the full Crochet Coaster Collection
👉 Browse individual patterns
More inspiring posts
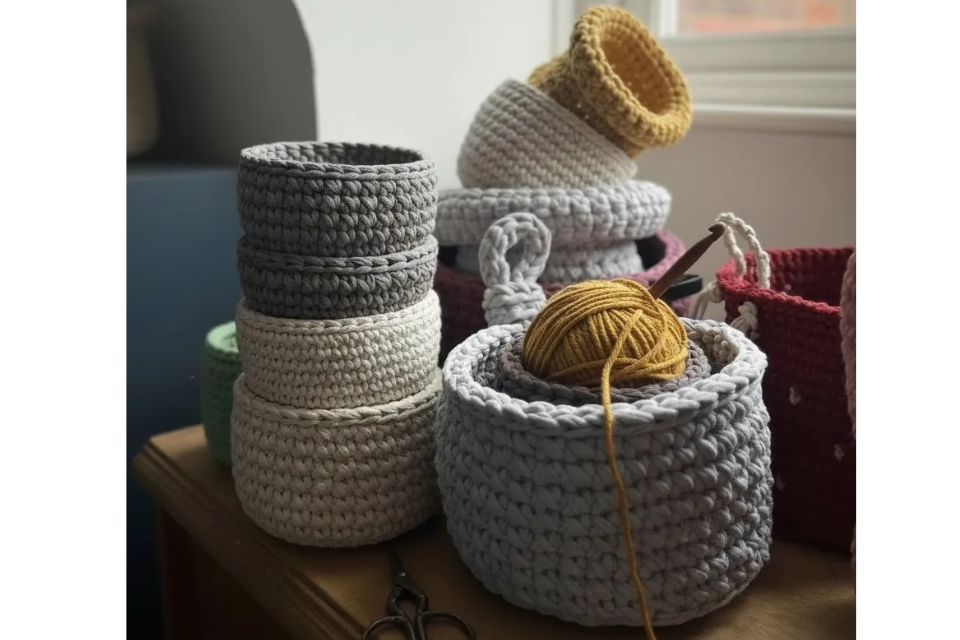
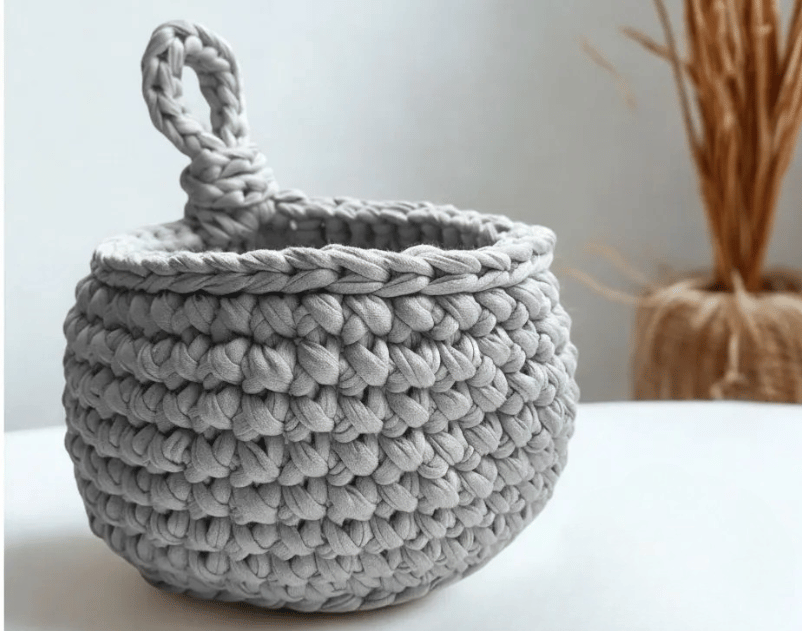
Crochet a waffle stitch basket that actually holds its shape. This beginner-friendly pattern uses simple stitches and a structured design so you can create a sturdy, practical basket for your home—without the frustration of floppy results.