
5 Tips for Crocheting a Hat That Actually Fits
Have you ever spent hours making a crochet hat, and then realized… it doesn’t fit?
Maybe it’s sliding down into your eyes, or maybe it’s too tight. Nothing takes the joy out of a project faster than a hat that doesn’t sit right.
Crochet hats look simple, but getting the size right can be tricky.
A little too wide, and the brim won’t stay put. A little too short, and your ears are left out in the cold.
But hat sizing doesn’t have to be a mystery. Once you know a few key principles—like how to measure, why negative ease matters, and what role yarn really plays—you can create hats that fit beautifully every single time.
In this post, I’m sharing my top five tips for nailing crochet hat size. They’re simple, practical, and based on mistakes I’ve seen (and made) again and again. Ready to stop guessing and start crocheting hats that actually fit?
I still remember my first crochet hat. I followed the pattern exactly, but when I tried it on, it slid right over my eyes. Since then, I’ve made hats that were too tight, too short, and everything in between. Each mistake taught me something—and now I know the little details that make all the difference in crochet hat size.
Ready to get started with your hat?
⏵Tip 1: How to Measure a Head for the Right Crochet Hat Size
Why measuring is more reliable than guessing
When it comes to making a crochet hat, the temptation is strong to just grab your yarn and hook and dive straight in. I’ve done it plenty of times. But here’s the problem: heads aren’t all equal. Some are rounder, some are longer, and some are just plain tricky. Without a proper measurement, you’re essentially working blind.
Why your crochet hat size isn’t the same as head size
The number one mistake I see with crochet hat sizing is guessing. It’s easy to think, “This looks about right for a child” or “I’ll just follow the pattern without checking anything.” But hats that are made without actual measurements often end up being too tight or sagging down into someone’s eyes. Neither is a great look.
How to measure circumference
So, what should you do instead? Measure.
A flexible tape measure is your best friend here.
Wrap it around the widest part of the head, just above the ears and eyebrows, and note the number. That’s the head circumference, and it’s the single most important number for getting your crochet hat size right.
Here’s where things get interesting: that number isn’t your final hat size. A lot of people make the mistake of thinking, “If the head is 20 inches, I’ll crochet a hat that’s 20 inches around.” But that’s not quite how it works (and we’ll get into why in the next tip).
When I designed my hat sizing chart, I included standard head measurements for babies, kids, and adults. This way, you don’t have to second-guess. Whether you’re making a toddler’s winter hat or an adult beanie, you’ve got reliable numbers right there in front of you.
⏵Tip 2: Understanding Negative Ease in Crochet Hats
What negative ease means (and why it matters)
Now, let’s talk about: negative ease.
If you’re new to garment-making, this might sound technical, but it’s really just about how stretchy fabric behaves.
How much smaller should a crochet hat be than the head?
A crochet hat needs to grip the head slightly. If it’s the exact same size as the head, it’ll slide down, twist around, or just feel floppy. To fix this, we actually make the hat smaller than the head it’s meant for. That smaller size stretches out to fit snugly, and that’s negative ease in action.
Think of it like a rubber band. If you put a rubber band around your wrist that’s exactly the same size as your wrist, it wouldn’t stay put. But if the band is slightly smaller, it stretches and holds comfortably. The same thing happens with yarn.
A quick rule of thumb: aim for about 1–2 inches smaller than the head circumference.
For example, if someone’s head measures 20 inches, your finished hat should measure closer to 18 or 19 inches.
That stretch is what makes it stay on without slipping.
The stretch factor: why snug beats exact sizing
This is one mistake that even experienced crocheters can make. I’ve seen so many hats come out just a bit too loose because the maker didn’t account for ease. It feels like you’ve followed the pattern to the letter, and yet something’s off. That’s why my hat pattern builds the negative ease right into the instructions—you don’t have to calculate it yourself or worry about whether you’ve got it right.
And here’s the best part: once you wrap your head around negative ease, it opens up a new level of freedom. Suddenly, you’re not bound to patterns quite as tightly. You can tweak things with confidence, knowing exactly how that extra inch or two will play out in the final fit.
Crochet Ribbing and Hat Brims
With crochet hats, the brim is the part that has to fit well—it’s what keeps the hat snug on your head. That’s why negative ease is so important here.
Crochet ribbing is a go-to for hat brims because it naturally has more stretch than most stitch patterns. No guide to hat sizing would be complete without mentioning it.
I’ve been experimenting with lots of different ribbing styles lately and created a 2-part directory that compares each method side by side, including how much elasticity and stretch you can expect.
⏵Tip 3: Choosing the Right Yarn and Hook for a Crochet Hat
The impact of yarn type on crochet hat size
Let’s say you’ve measured correctly and accounted for negative ease.
But then you swap out the yarn from the pattern for something softer, fluffier, or maybe just whatever you had lying around.
You work up the hat, only to discover… it doesn’t fit at all.
Sound familiar? This is one of the most common pitfalls with crochet hats. The yarn and hook size you choose matter—a lot.
Why hook size changes the fit
Here’s why: different yarns have different amounts of stretch. A wool blend might hug the head nicely, while cotton might feel stiff and less forgiving. Even within the same weight category, two yarns can behave completely differently.
And hook size? That changes everything.
A larger hook will make looser stitches, giving more drape but less structure. A smaller hook does the opposite.
How to check gauge for a crochet hat
This is where gauge comes in. Yes, I know—swatching isn’t the most exciting part of crocheting. But for hats, it’s crucial.
Making a quick 4x4-inch swatch can save you hours of frustration. If your stitches don’t match the gauge in the pattern, your hat will almost certainly come out the wrong size.
Common mistakes when substituting yarns in hats
I believe this is one of the easiest mistakes to avoid, but it requires slowing down at the start. When I include gauge in my patterns, it’s not just to fill space—it’s to give you a reliable starting point. That way, when you do decide to swap yarns (and I know you will, because who can resist?), you’ve got a clear check to make sure it’ll still work.
Think of it as testing your ingredients before you bake. You wouldn’t swap out sugar for salt in a cake without checking, right? Same idea.
⏵Tip 4: Starting a Crochet Hat From the Crown Down
Why crown-first construction gives better sizing control
Now let’s get into the actual structure of a crochet hat. Most well-fitting hats start at the crown—the very top—and work their way down. This method gives you control over both the width and the length, which means you can adjust on the fly if something feels off.
When you start at the brim, you’re committing to that circumference right away. There’s less flexibility to change things later.
And honestly, it’s much easier to work increases at the top than to try and fix a brim that’s already the wrong size.
How crown diameter determines crochet hat size
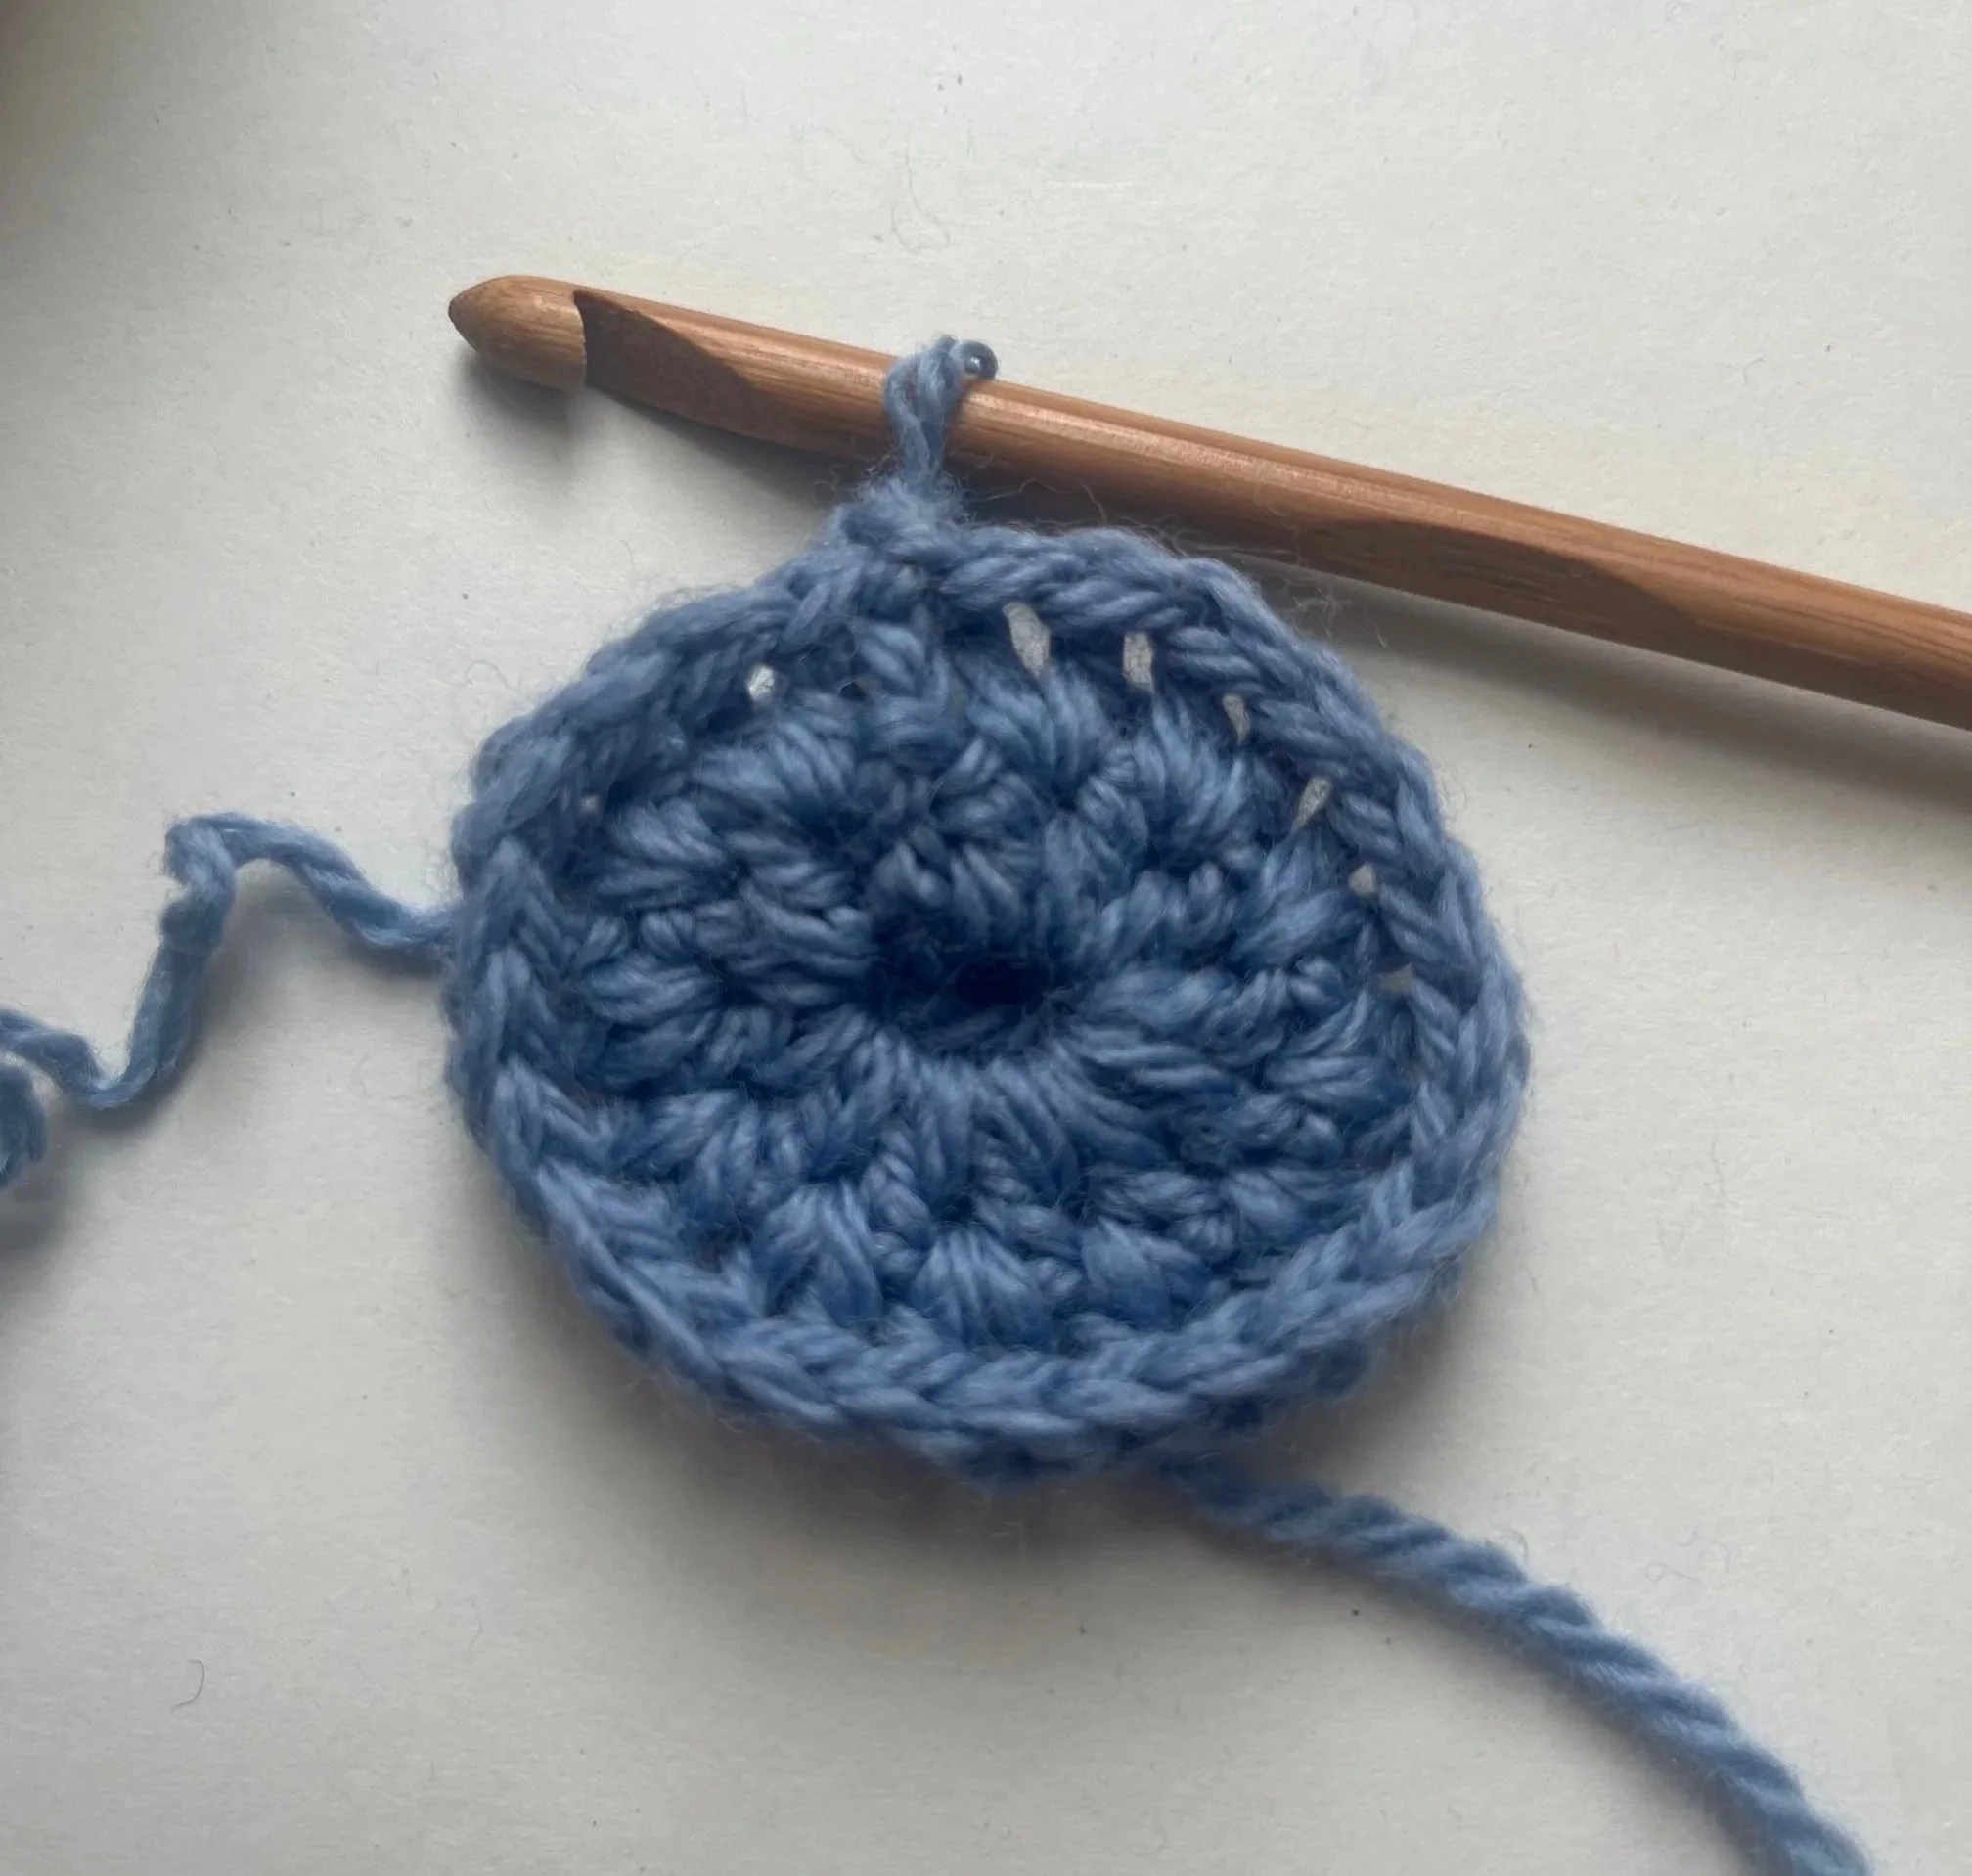
Here’s how it usually goes: you begin with a magic ring or a few chains joined into a circle, then increase evenly to form a flat disc. This disc is the crown, and its diameter determines how wide your hat will be.
Once you reach the correct diameter for your chosen head size (again, thank you, sizing chart), you stop increasing and simply work even rounds until the hat reaches the right length.
The common mistake here is over- or under-increasing in those crown rounds. Add too many stitches, and the hat balloons out before sagging down. Add too few, and it hugs too tightly, never quite sitting comfortably on the head.
Avoiding over-increasing or under-increasing
In my hat pattern, I lay out those crown increases clearly, with stitch counts for each round. It’s like having a roadmap—you always know where you are and where you’re going. That structure takes away a lot of the uncertainty that can creep in when you’re working freehand.
The crown-first method also has a hidden benefit: you can try the hat on as you go. If you’re making it for yourself or someone nearby, it’s easy to stop mid-round, stretch it over the head, and see how it’s shaping up. That kind of feedback is priceless.
Sizing Hats with Stitch Multiples
If you’re designing your own hat—or free-styling as you go—you’ll need to think carefully about stitch multiples. When you’re using a single stitch, it’s simple: you can just add or subtract a couple of stitches in the final increase round to land on the number you need.
But when your stitch pattern has a multiple greater than one, things get trickier. More often than not, the number of stitches you need for the correct circumference won’t line up neatly with that multiple.
Here’s where a little judgment comes in. Because a crochet hat should be slightly smaller than the head (thanks to negative ease), it’s usually better to round down your stitch count to the nearest multiple rather than up. This way, the hat will stretch to fit comfortably instead of being too loose.
⏵Tip 5: How Long Should a Crochet Hat Be?
Why length matters just as much as width
So you’ve measured correctly, accounted for negative ease, chosen the right yarn and hook, and nailed the crown increases.
But don’t forget—length matters just as much as width.
I can’t tell you how many times I’ve seen hats that technically fit around the head but sit awkwardly on top because they’re too short. Or, on the flip side, hats that sag down like oversized slouchies when that wasn’t the intention. It’s such a simple thing, but it makes all the difference.
Crown-to-brim measurements for different ages
The key measurement here is crown-to-brim length. That’s the distance from the very top of the hat to where you want it to end. For a snug beanie, that might be shorter. For a cozy winter hat meant to cover the ears, you’ll want an extra inch or two.
Here’s an example: let’s say you’re making a hat for a child with a 19-inch head circumference. The correct circumference might be 17–18 inches once you factor in negative ease. But if you only make the hat 6 inches tall, it’ll stop short of the ears. Add another inch or two, and suddenly it’s perfect for winter wear.
Short beanies vs. longer winter hats
This is another area where I’ve built measurements into my hat sizing chart. Each size includes not just the circumference but also the recommended height. That way, you’re covered on both fronts.
I believe paying attention to length is the unsung hero of crochet hat sizing. It’s not as glamorous as talking about stitch counts or fancy yarns, but it’s what makes the difference between a hat that looks handmade and a hat that looks professionally crafted.
Common Crochet Hat Sizing Mistakes to Avoid
Now that we’ve gone through the five main tips, let’s call out some of the biggest pitfalls that throw people off track. Sometimes it helps to know what not to do just as much as what to do.
Making hats the same size for everyone. Heads vary—kids, teens, adults, even adults of the same age can differ by several inches. A one-size-fits-all approach rarely works.
Ignoring gauge. It’s tempting to skip the swatch, but it almost always comes back to bite you.
Forgetting stretch. Negative ease isn’t optional. A hat that’s the exact head size will never stay put.
Only checking circumference. Remember, length is half the equation. A hat that doesn’t reach the ears isn’t doing its job.
Not trying it on as you go. If you have the head nearby, take advantage of it!
Every one of these mistakes is avoidable with a little planning and the right tools. That’s why I created my hat sizing chart and crochet hat pattern—to take out the guesswork and leave you with a project you can be proud of.
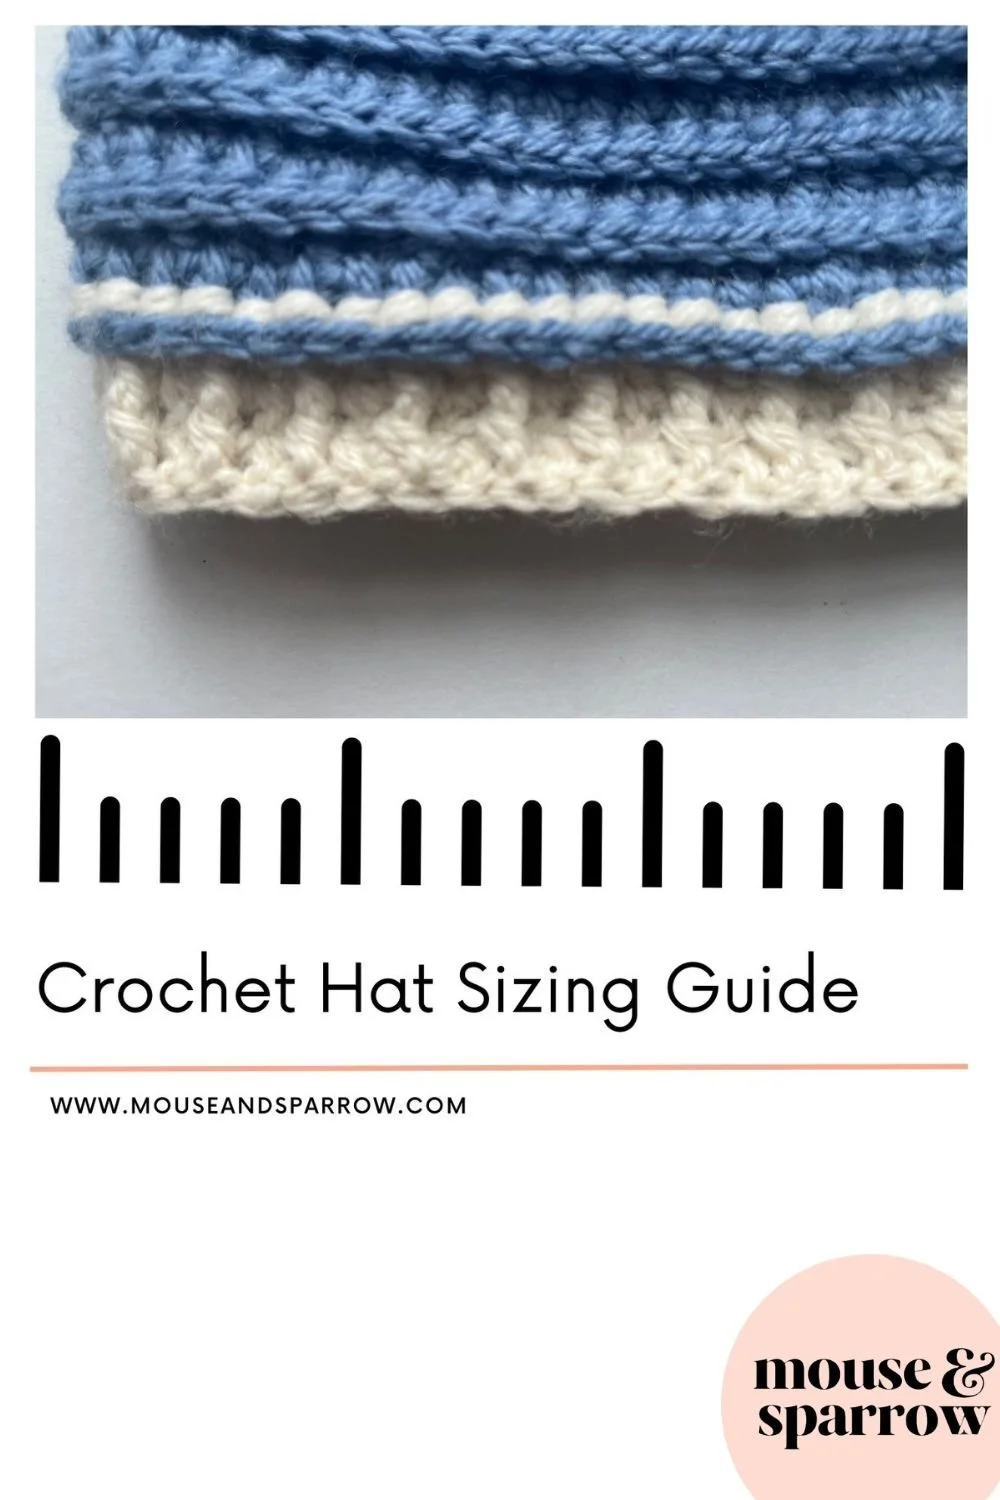
Crochet Hat Sizing Guide
Stop the trial and error. With this professional crochet hat sizing chart, you’ll know exactly how many inches your crown, height, and circumference should be—no more frogging or wasted yarn.
The Easy Way to Get Crochet Hat Sizes Right Every Time
Crocheting a hat that fits is about knowing the little tricks that make all the difference. Once you start measuring, paying attention to stretch, and keeping both width and length in mind, the frustration melts away.
If you’re ready to skip the guesswork and get straight to the joy of creating, my Kids Winter Crochet Hat Sizing Chart will walk you through the process step by step. It’s designed to take out the hard part, so you can focus on what you love: the rhythm of the stitches and the happiness of seeing your project come to life.
What’s Next?
📌 Pin this post: Save it to your Pinterest boards so you’ll have these crochet hat sizing tips handy whenever you start a new project.
💬 Join the conversation: I’d love to hear from you—what’s the trickiest part of getting your crochet hat size right? Share your experience in the comments below.
🧶 Use the Hat Sizing Chart: Skip the guesswork and grab my printable sizing chart—it makes measuring and customizing so much easier.
More inspiring articles
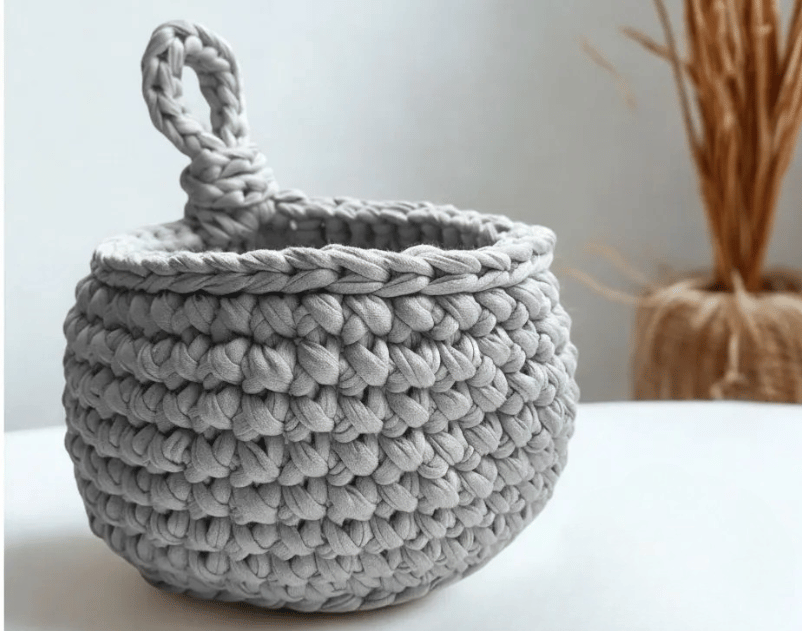

Many homes end up looking surprisingly similar. We shop in the same stores, follow the same trends, and buy the same accessories. But a home doesn't need more decoration—it needs more personality. Discover simple crochet home décor ideas, from baskets to plant pot covers, that add character, texture, and warmth to your space.