
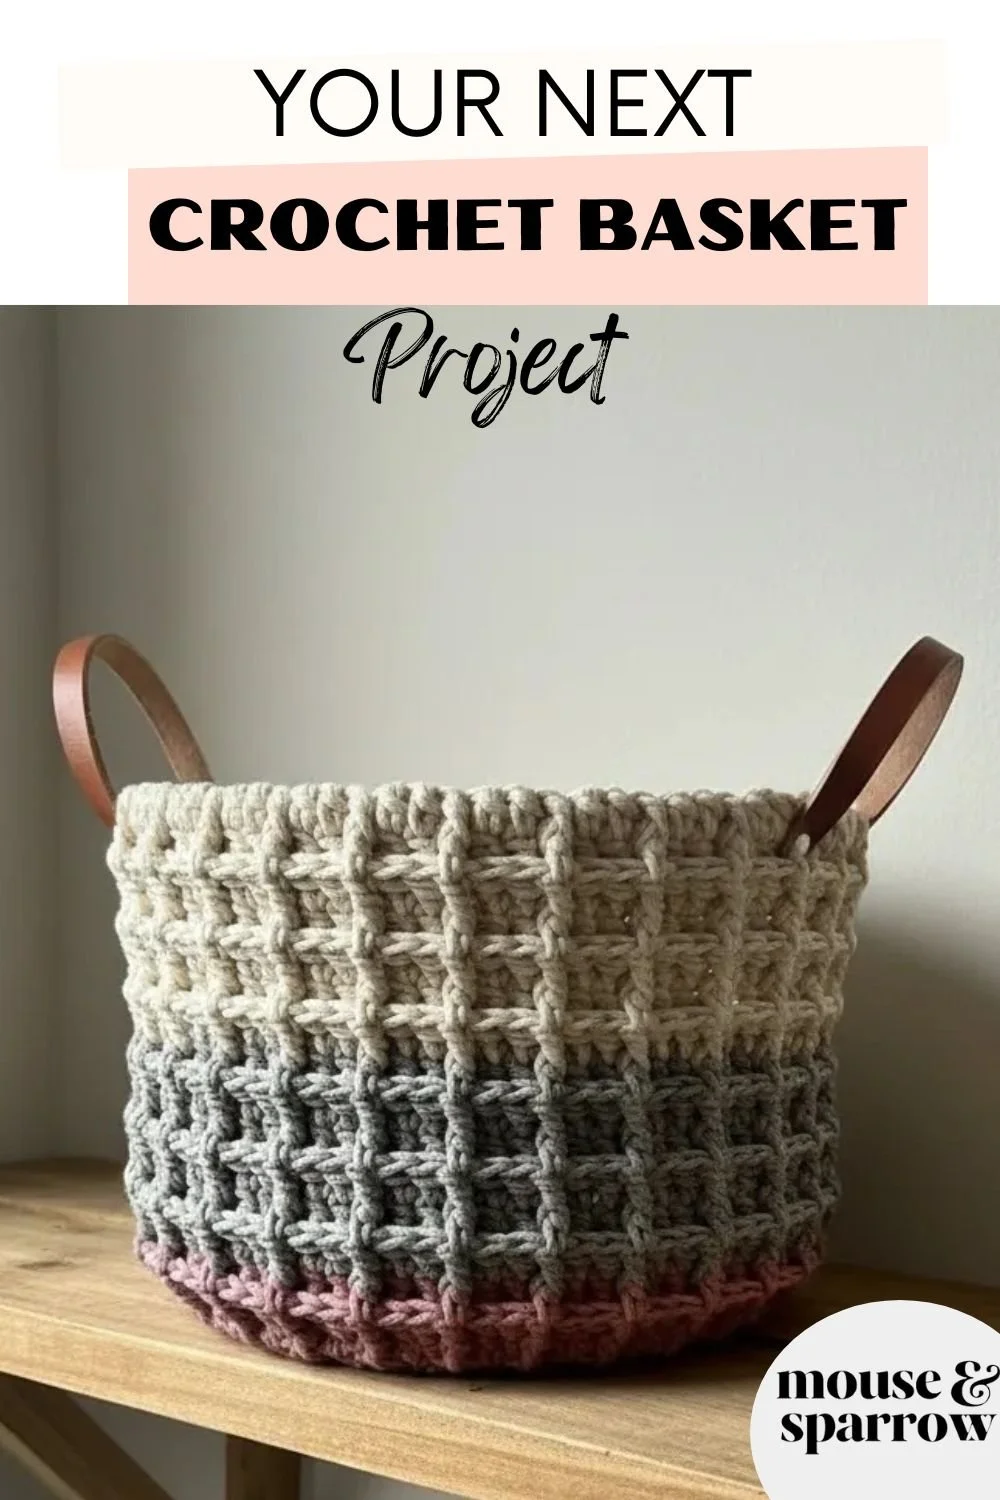
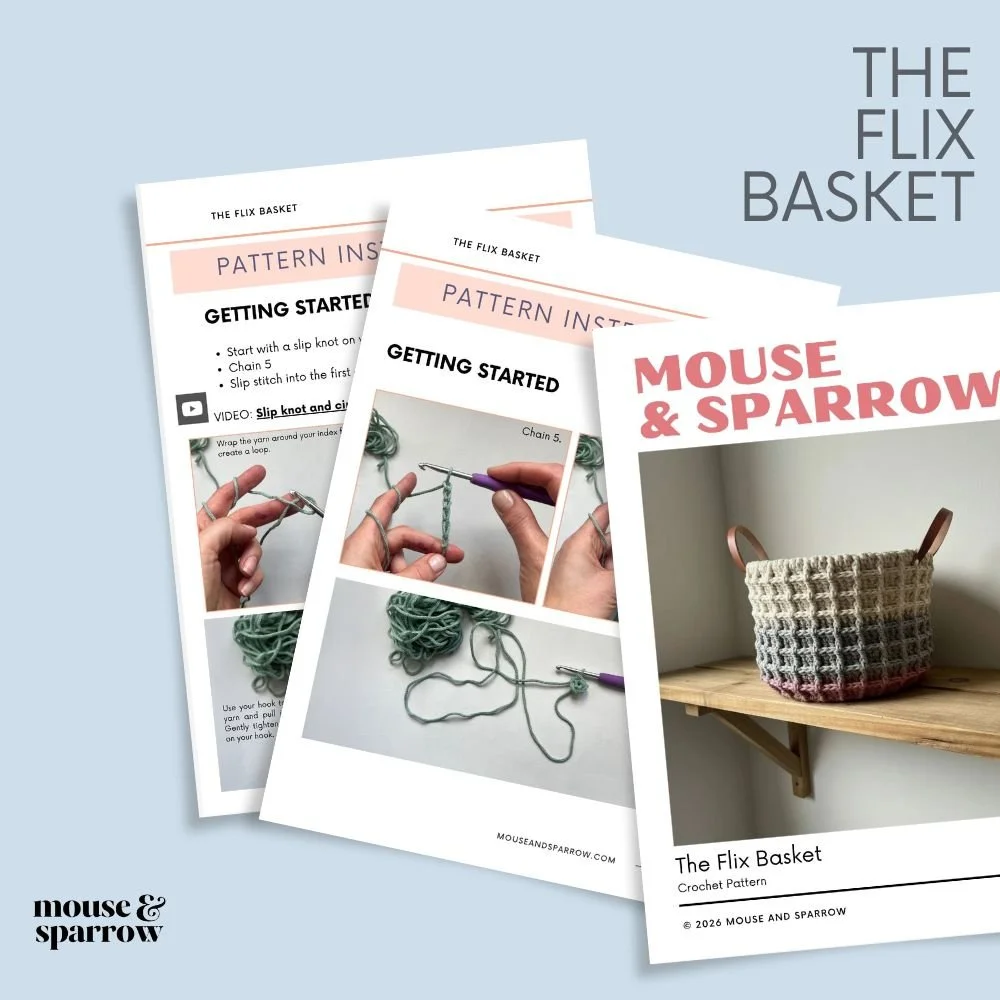
Crochet Basket That Holds Its Shape (Easy Waffle Stitch Pattern)
This post contains affiliate links.
If your crochet baskets keep turning out floppy or uneven, this pattern is designed to fix that.
This free waffle stitch basket pattern uses simple stitches and a structured approach so your basket holds its shape and actually works in your home.
Instead of working the waffle stitch in rows, the Flix Basket is worked in the round, alternating front post and back post double crochet stitches to create a seamless, sturdy basket with that classic textured finish.
NEW TO CROCHET?
If you are new to crochet you might want to get started here:
MATERIALS
👉 My favourite yarn for The Flix Basket: DMC Eco Vita Recycled Cotton
This yarn gives the basket its structure and helps it hold its shape.
👉 Alternative: Any worsted weight cotton yarn
Choose something with a firm feel for best results.
👉 Softer option: Cotton blends
These work, but your basket may be less structured.
You’ll also need:
SKILL LEVEL + DETAILS
Skill: Beginner
Time: 5 - 8 hours
Finished Size: Approx. 18 cm (7.1”) in diameter × 17 cm (6.7”) tall
Terms: US (UK equivalents included)
Chain 3 at the beginning of each round counts as the first stitch throughout. Chain 1 does not count as a stitch and is used for height only.
This pattern is written in US crochet terms.
The printable PDF includes both US and UK terms, so you can follow along in the format you’re most comfortable with.
Read to make this crochet basket?
Don’t struggle through it on your phone.
Follow the clean, printable version with step-by-step photos — so you can sit down, crochet, and actually enjoy the process.
👉 Get the PDF and make this basket today
Why This Crochet Basket Holds Its Shape
The waffle stitch naturally creates a thicker, more structured fabric, helping the sides stay upright.
Working in the round keeps the tension even, so the basket holds its shape without weak points.
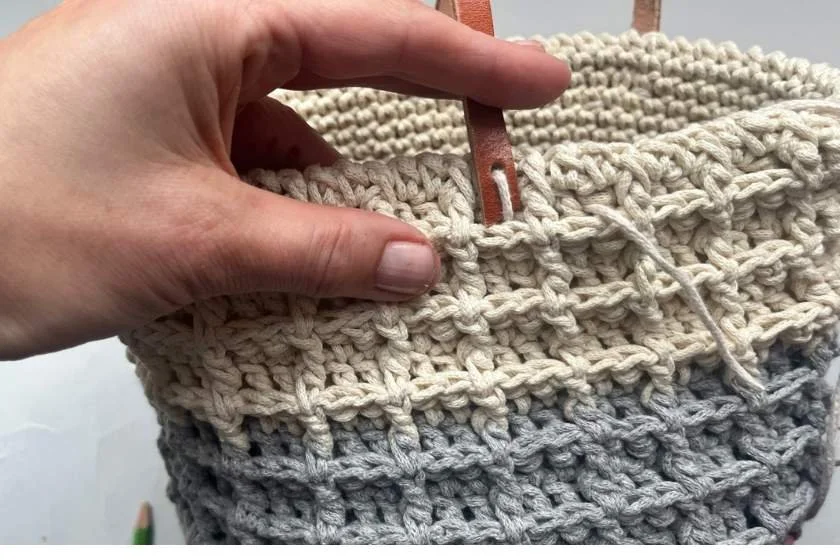
The folded top edge reinforces the rim, adding extra stability and helping the basket stay firm over time.

How to crochet a sturdy waffle stitch basket
This waffle stitch basket is worked in the round, starting with a solid base and building up the sides using alternating front post and back post double crochet rows to create the signature waffle texture.
The top edge is reinforced with rounds of single crochet, then folded inward to give the basket extra structure so it holds its shape beautifully.
Handles are added last, making it practical and ready to use around your home.
THE WAFFEL BASKET PATTERN (FREE VERSION)
Getting started
➤BASKET BASE
FOUNDATION
Create a slip knot
Chain 5
Slip stitch into the first stitch to create a circle
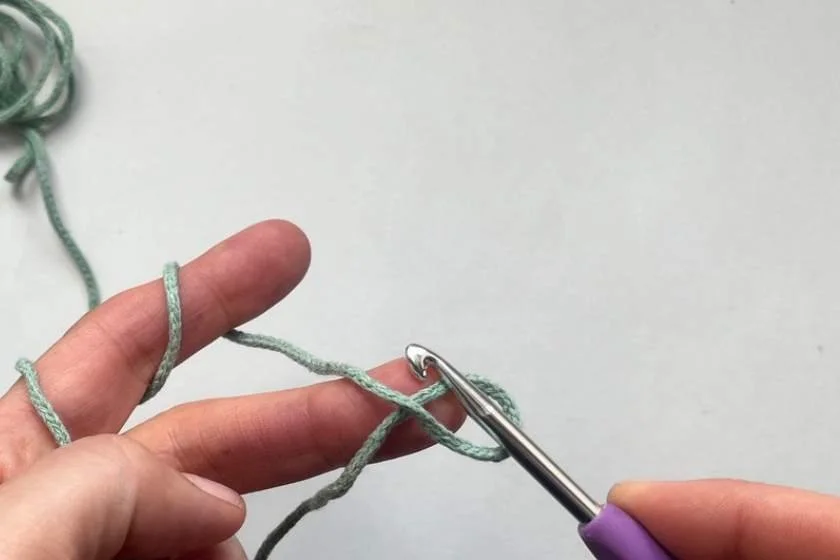
Wrap the yarn around your index finger and create a loop.
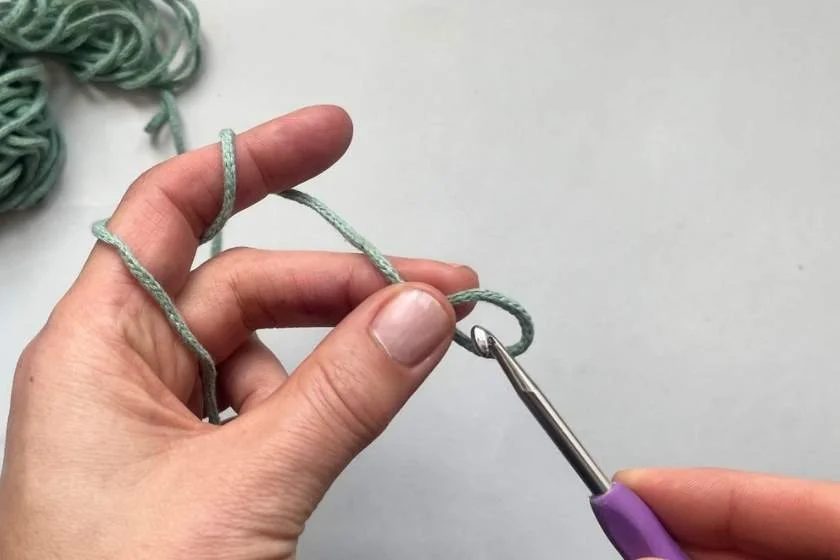
Hold the loop securely between your fingers. Insert your crochet hook through the loop.

Use your hook to grab the working yarn and pull it through the loop. Gently tighten to form a slip knot on your hook. You are now ready to chain 5.
ROUND 1
Work 8 single crochet into the circle
Join with a slip stitch into the first stitch
(8 st in total)
ROUND 2
Chain 1
Work 2 single crochet in every stitch
Join with a slip stitch into the first stitch
(16 st)
ROUND 3
Chain 1
Work 1 single crochet in the first stitch
**Work 2 single crochet in the next stitch
Work 1 single crochet in the next**
Repeat from ** to ** around
Join with a slip stitch into the first stitch
(24 st)
ROUND 4
Chain 1
**Work 1 single crochet in each of the next 2 stitches
Work 2 single crochet in the next stitch **
Repeat from ** to ** around
Join with a slip stitch into the first stitch
(32 st)
ROUND 5
Chain 1
** Work 1 single crochet in each of the next 3 stitches
Work 2 single crochet in the next stitch **
Repeat from ** to ** around
Join with a slip stitch into the first stitch
(40 st)
Enjoying this pattern? Make it easier to follow (and actually finish).
If you’d rather skip the scrolling and crochet without second-guessing, the printable PDF gives you everything in one place — clean, structured, and easy to follow from start to finish.
Inside the PDF:
✔ Clear, print-ready layout
✔ Step-by-step photos so you can see exactly what to do
✔ US terms with UK (pick which version works for you)
✔ A simple stitch guide you can keep beside you as you work
👉 Download the PDF and enjoy a better, scroll free crochet experience
ROUND 6
Chain 1
** Work 1 single crochet in each of the next 4 stitches
Work 2 single crochet in the next stitch **
Repeat from ** to ** around
Join with a slip stitch into the first stitch
(48 st)
ROUND 7
Chain 1
**Work 1 single crochet in each of the next 5 stitches
Work 2 single crochet in the next stitch **
Repeat from ** to ** around
Join with a slip stitch into the first stitch
(56 st)
ROUND 8
Chain 1
**Work 1 single crochet in each of the next 6 stitches
Work 2 single crochet in the next stitch **
Repeat from ** to ** around
Join with a slip stitch into the first stitch
(64 st)
ROUND 9
Chain 1
** Work 1 single crochet in each of the next 7 stitches
Work 2 single crochet in the next stitch **
Repeat from ** to ** around
Join with a slip stitch into the first stitch
(72 st)
ROUND 10
Chain 1
Work 1 single crochet in the back loop only of each stitch
Join with a slip stitch into the first stitch
(72 st)
CHANGE YARN COLOUR
➤ BASKET WALLS
ROUND 11
Chain 3
Work 1 double crochet in each stitch around
Join with a slip stitch into the first stitch
(72 st)
ROUND 12
Chain 3
**Work 1 front post double crochet in the next stitch
Work 1 double crochet in each of the next 2 stitches**
Repeat from ** to ** around.
The round should end with a double crochet
Join with a slip stitch into the top of the beginning chain 3
(72 st)
ROUND 13
Chain 3
**Work 1 double crochet in the next stitch
Work 1 back post double crochet in each of the next two stitches**
Repeat from ** to ** around
The round should end with a back post double crochet
Join with a slip stitch into the top of the beginning chain 3
(72 st)
CHANGE YARN COLOUR
Round 14- 25: repeat round 12 and round 13.
Change colour every 6 rounds if desired.
➤BASKET FOLD-IN SECTION
ROUNDS 26–50
Work 1 single crochet in every stitch.
This section is worked in continuous rounds (spiral). Do not join with a slip stitch at the end of each round. Place a stitch marker in the first stitch of each round to keep track.
Cut yarn and sew in ends.
Fold the single crochet section inside the based for extra structure.
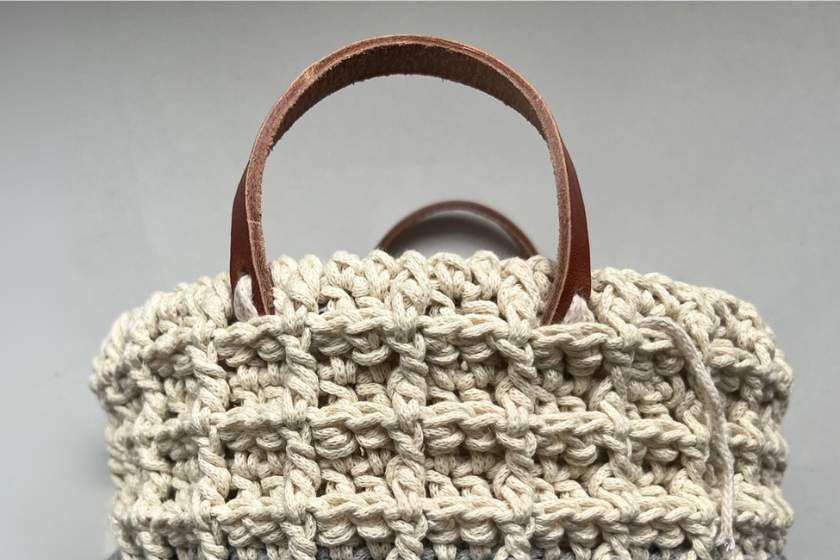
Handles
Attach one leather strap to each side of the basket.
Punch a small hole at both ends of each strap. Sew the ends to the outside of the basket near the top edge, spacing them about two waffle stitch squares apart. The strap will form an upside-down U shape to create the handle
Enjoying this pattern? Don’t struggle through it on your phone.
Follow the clean, printable version with step-by-step photos — so you can sit down, crochet, and actually enjoy the process.
👉 Get the PDF and make this basket today
TROUBLESHOOTING
Why is my basket floppy?
This usually comes down to tension, yarn choice, or hook size.
For a sturdy basket, your stitches need to be tight and structured. If your basket feels soft or floppy, try:
Using a smaller hook size
Switching to a thicker or stiffer yarn (like cotton or t-shirt yarn)
Keeping your stitches tight and consistent
The folded top edge in this pattern is designed to add extra structure — so don’t skip it, it makes a big difference.
Why are my stitches uneven?
Uneven stitches are very common, especially when working with post stitches.
This usually improves with practice, but you can also:
Slow down slightly and focus on consistent tension
Make sure you’re placing your hook correctly around the post each time
Check that your yarn isn’t pulling too tightly in some stitches and too loosely in others
The good news: waffle stitch texture is very forgiving — small inconsistencies won’t be noticeable in the finished basket.
Why is my basket curling?
Curling usually happens in the base and is a sign that there aren’t enough increases.
To fix this:
Make sure you’re following the increase rounds exactly
Check your stitch count at the end of each round
If it’s still curling, try adding a few extra increases evenly spaced
A flat base is key — once that’s right, the sides will naturally start to build upwards.
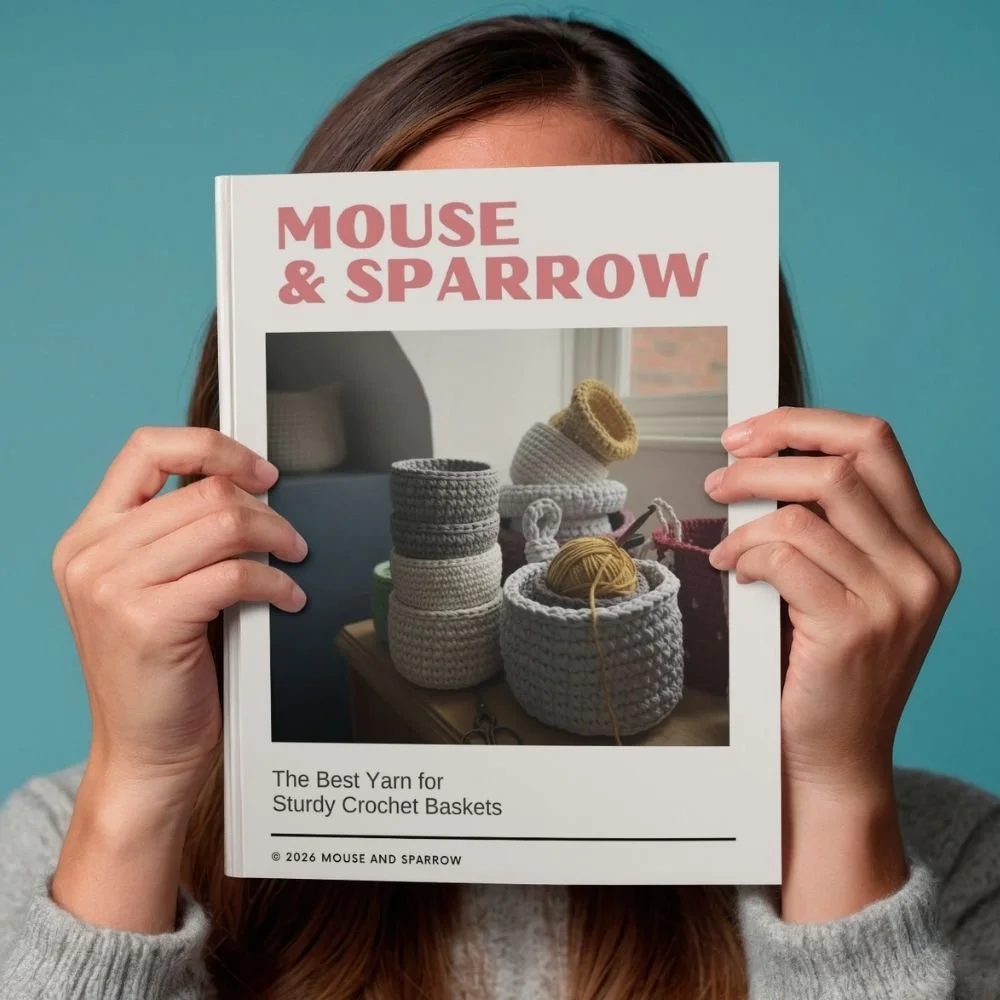
The Best Yarn for Sturdy Crochet Baskets
Even the best basket pattern can turn floppy with the wrong yarn. This free guide will help you choose yarns that create sturdy, structured crochet baskets from the start.
✔ The best yarns for sturdy crochet baskets
✔ Common mistakes that ruin basket structure
✔ A simple guide to choosing the right yarn
More Easy Crochet Projects You’ll Actually Use
Buying yarn for your crochet basket? Best Yarn for Crochet Baskets
Looking for more quick crochet projects? 3 Easy Crochet Projects You Can Finish This Weekend
Worried about getting stuck? 10 Crochet Mistakes Beginners Make (and How to Fix Them)
Short on time? Too Busy to Crochet? How to Start Even If You Only Have 15 Minutes
Learn a new skill: How to Join Granny Squares: 3 Easy Methods I Use
Love practical makes? How to Crochet a Laptop Case You Will Love to Make and Use Daily
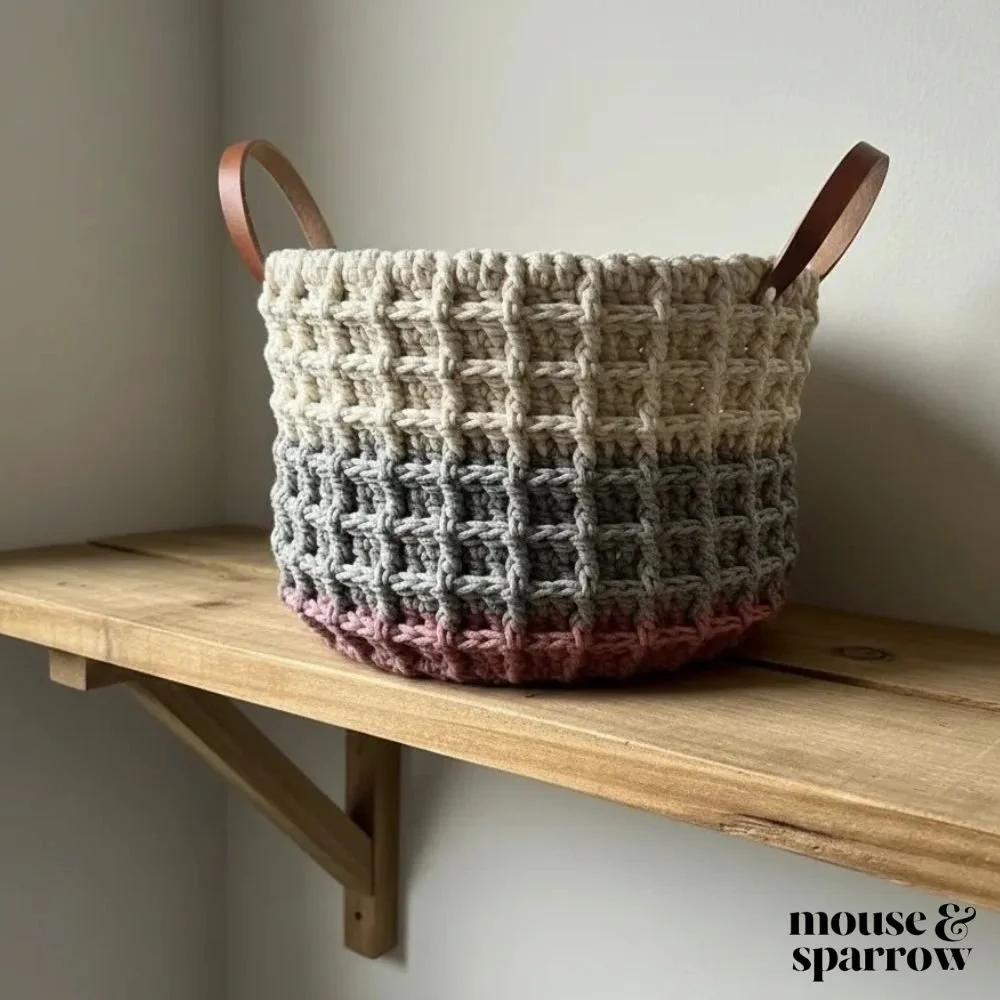
And that’s your finished waffle stitch basket.
Simple stitches, a bit of structure, and something you’ll actually use around your home — not just another project left unfinished.
If you make one, I’d love to see it. You can share it with me or save this pattern for later so you always have it when you’re ready for your next project.
If you make this basket, I’d love to see it — and if you want an easier version to follow, grab the printable PDF above.
What’s Next?
Pin this post: Save this tutorial to your Pinterest boards so that you can come back to it later.
Leave a comment: We love to hear your feedback. Tell me in the comments below!
✨ Get the Crochet Pattern Customization Kit: This download it full of tips, techniques and cheat sheets to help you make each project uniquely yours. Get it here.
🧶Show Off Your Creation! 🧶
Finished your weekend basket? I’d love to see it! Share a photo on Instagram or Pinterest
More inspiring posts


I have a very specific idea of what I want in my home. The right colour, the right proportion, the right feeling when I walk into a room. And I've learned that the only reliable way to get it is to make it myself. This crochet plant pot cover started with a Christmas cactus that deserved better than what the shops had to offer — and ended with something I genuinely love looking at every day. If you've ever walked past a shelf and thought "I wish I could make something like that," this post is for you.