
How to Join Crochet Squares: 3 Easy Methods I Use
You’ve made the squares. (Yay!) Now comes the part that turns a pile of pretty crochet into an actual blanket: joining.
If you’ve been following along with my blanket square series, this is where it all comes together.
In this post, I’ll walk you through three beginner-friendly joining methods I use all the time:
Single Crochet Join (strong + textured)
Slip Stitch Join (quick + subtle)
Flat Crochet Join (tidy + neat “braided” look)
I’ll give you step-by-step instructions for each one, plus my best tips for keeping your blanket flat and even.
📌 Pin this post to come back to it anytime.
Before You Start Joining Your Crochet Squares: The 10-Minute Prep That Makes It 10x Easier
1) Block your squares (even lightly)
If your squares are a little wavy or not perfectly the same size, joining can feel like wrestling an octopus.
If you love full blocking: go for it.
If you want the quick version: spritz with water, gently shape, let dry flat.
Blocking helps your edges line up, your corners behave, and your joins look clean.
2) Check your stitch counts
Even if your squares look similar, one square with an extra stitch can throw off the join and create ripples.
Quick check:
Count stitches along one edge of a few squares.
If one is off, don’t panic — you can often “hide” it by working two stitches into one spot (or skipping one) during joining.
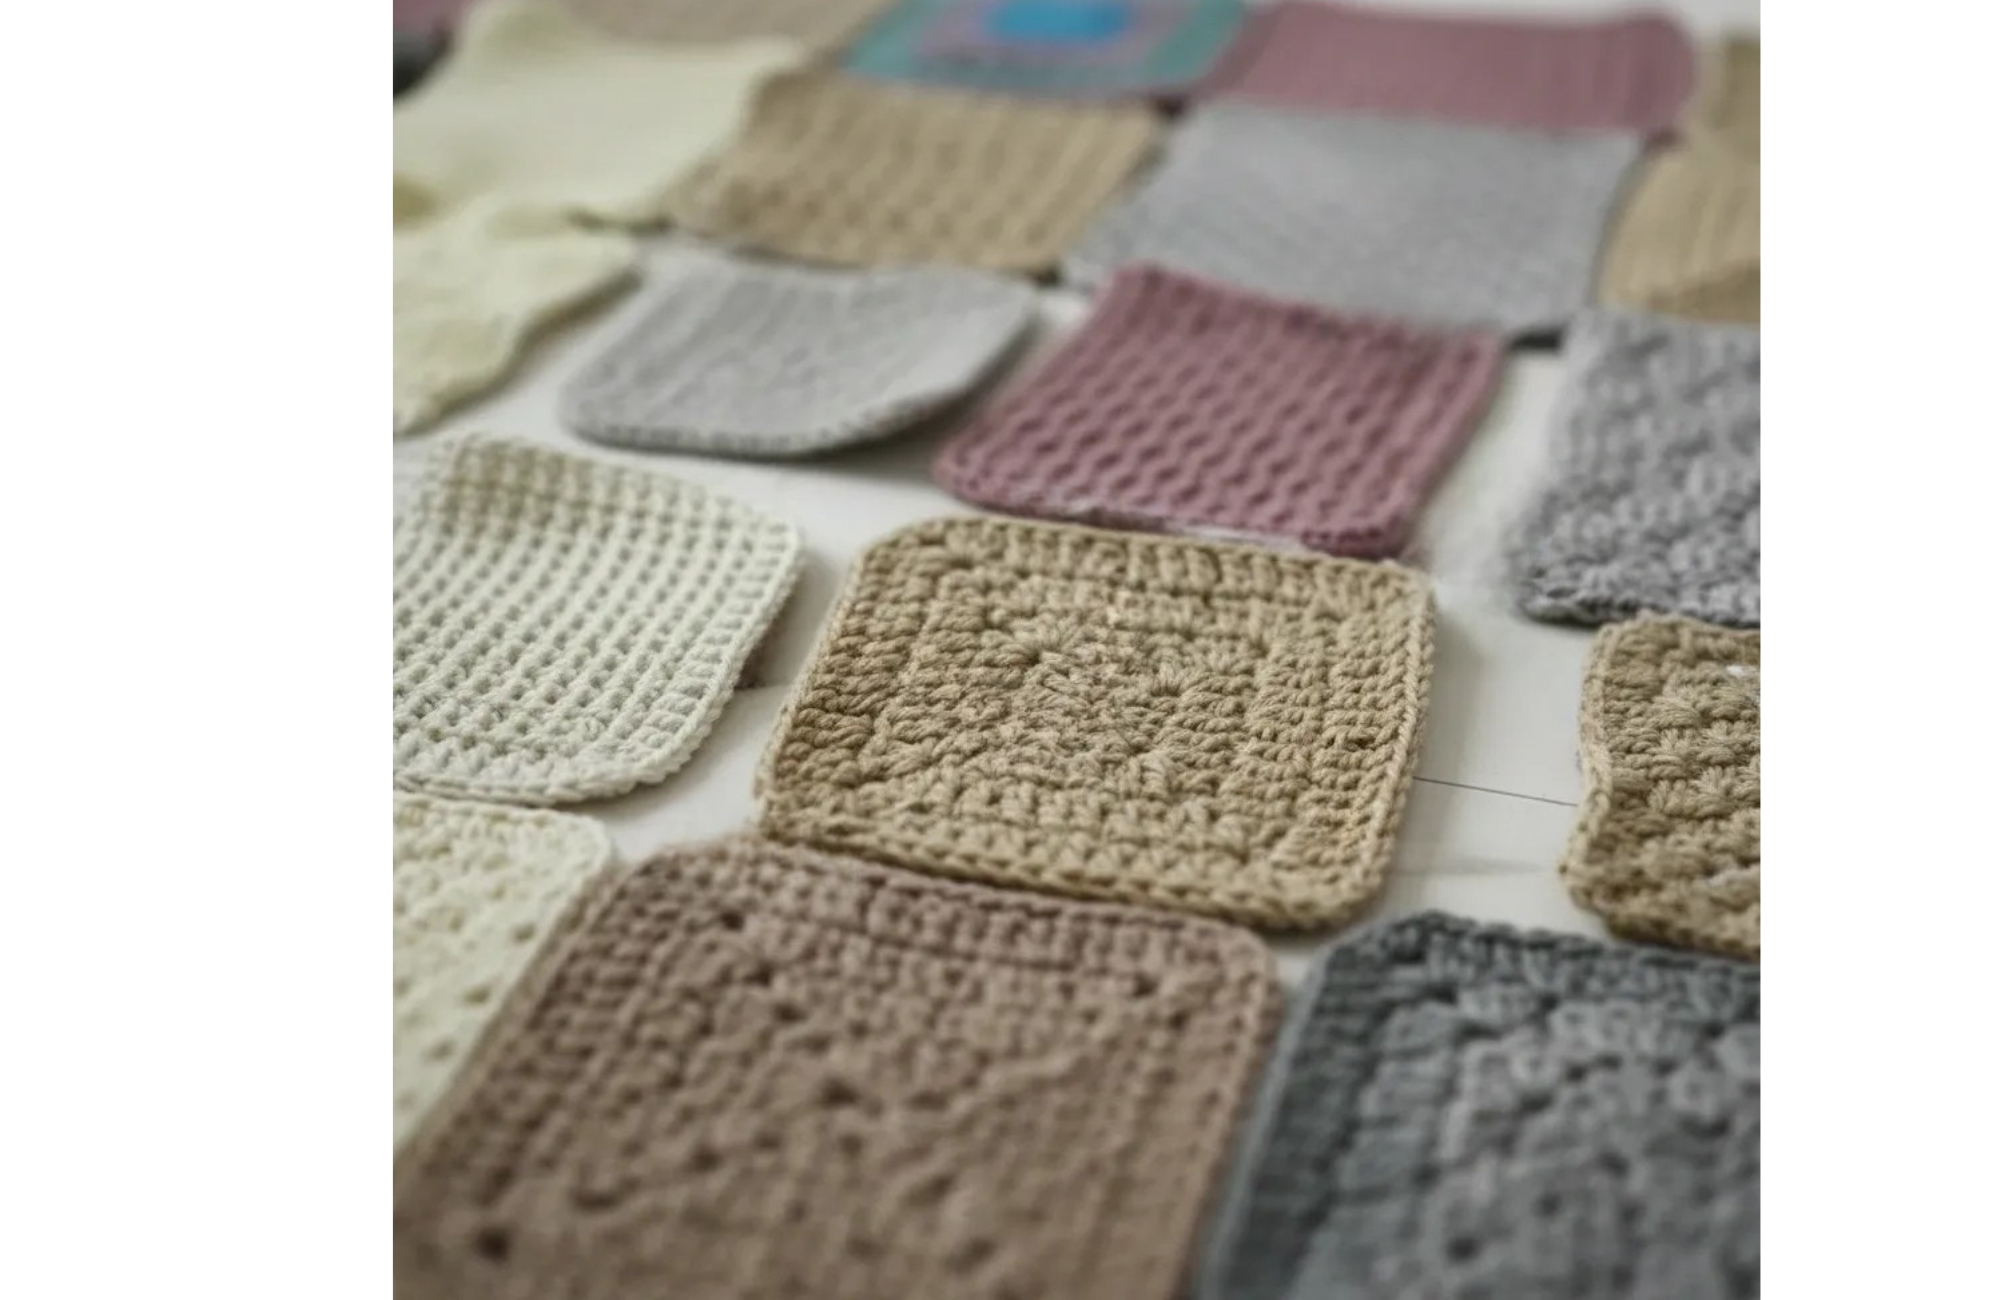
3) Lay out your blanket first
This is my non-negotiable step.
Have you used the Blanket Planner to map out your design? It makes such a difference. Seeing everything arranged first helps you avoid last-minute swaps and gives your blanket a more intentional, balanced look.
Alternatively, lay all your squares out on the floor (or a bed) in your final layout:
Decide where colours and textures go
Rotate squares so they look consistent
Take a quick photo so you don’t forget
For my blanket, I’m working with 8 squares across and 8 rows down — 64 squares in total.
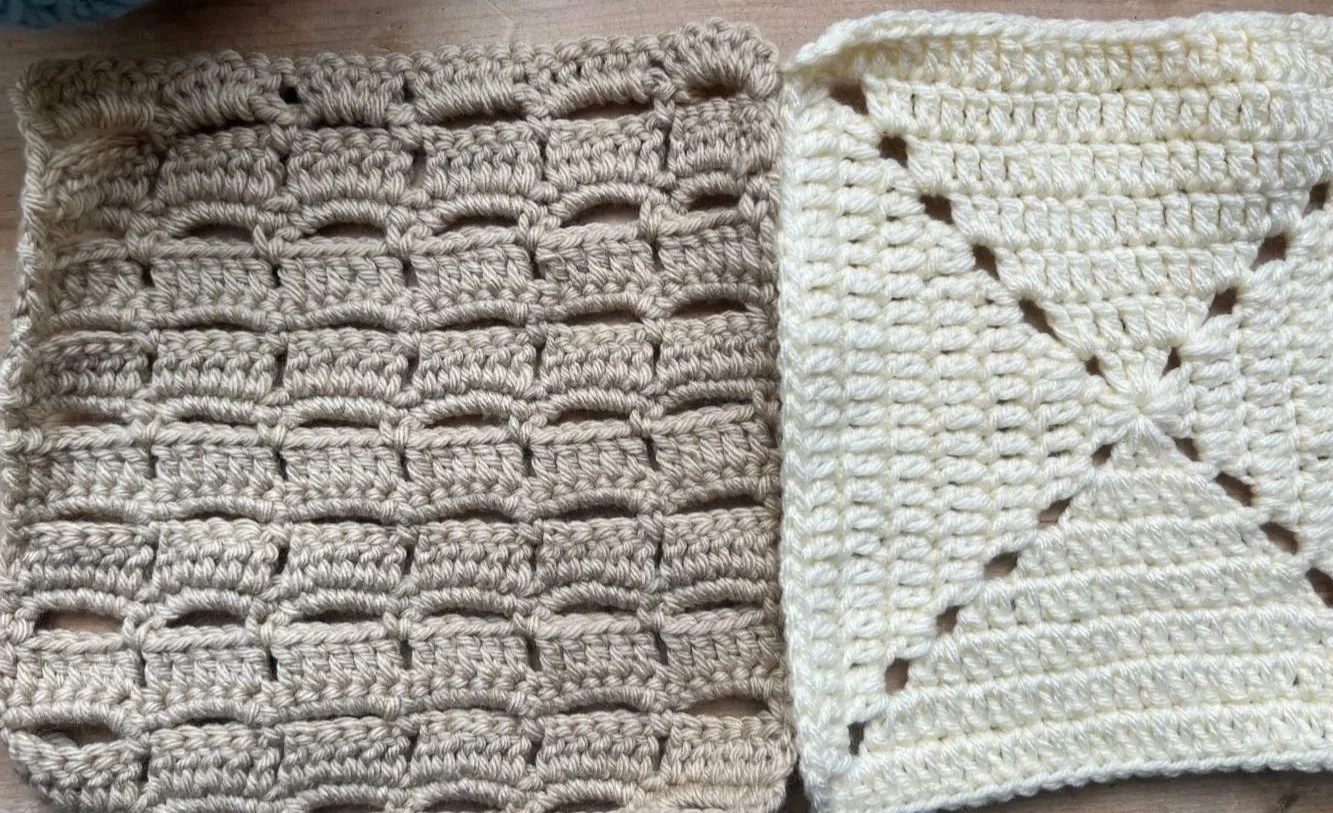
For this design, I chose Method 1 (Single Crochet Join) in a contrasting colour yarn. I wanted the joins to stand out slightly and create a soft grid effect between the squares — almost like a quilt. It frames each square beautifully and makes the overall layout pop.
4) Choose your joining yarn
You have two good options:
Match your squares (clean + seamless look)
Use a contrast colour (graphic + intentional outlines)
If you’re unsure, matching yarn is the safest choice for a first blanket.
My Favourite Way to Join a Crochet Square Togehter
Before we get into methods, here’s how to create my blanket:
Join squares into rows first (8 Rows of 8 Squares)
Join the rows together
Add a border last (optional, but it makes everything look finished)
This keeps your blanket from becoming a heavy, tangled mess halfway through.


How to Crochet Straight Edges
If you’re finding your squares don’t line up perfectly, you might want to revisit my guide on How to Crochet Straight Edges — getting clean, even edges makes joining so much easier and gives your finished blanket a polished look.
Method 1: Single Crochet Join (Sturdy + Textured)
This method creates a visible ridge along the seam. It’s strong, beginner-friendly, and great if you like a little texture.
Best for:
Heavier blankets
Squares with clear stitch edges
When you want the join to stand out a bit
What you’ll need:
Yarn (same weight as squares)
Hook (same size you used for squares, or one size larger if you crochet tightly)
Scissors + yarn needle
Step-by-step: Single Crochet Join
Step 1: Align your squares
Place two squares together with:
Wrong sides together if you want the ridge on the front
Right sides together if you want the ridge on the back (cleaner front)
I like the ridge on the front — it gives a lovely “quilted” look.
Step 2: Attach yarn in a corner
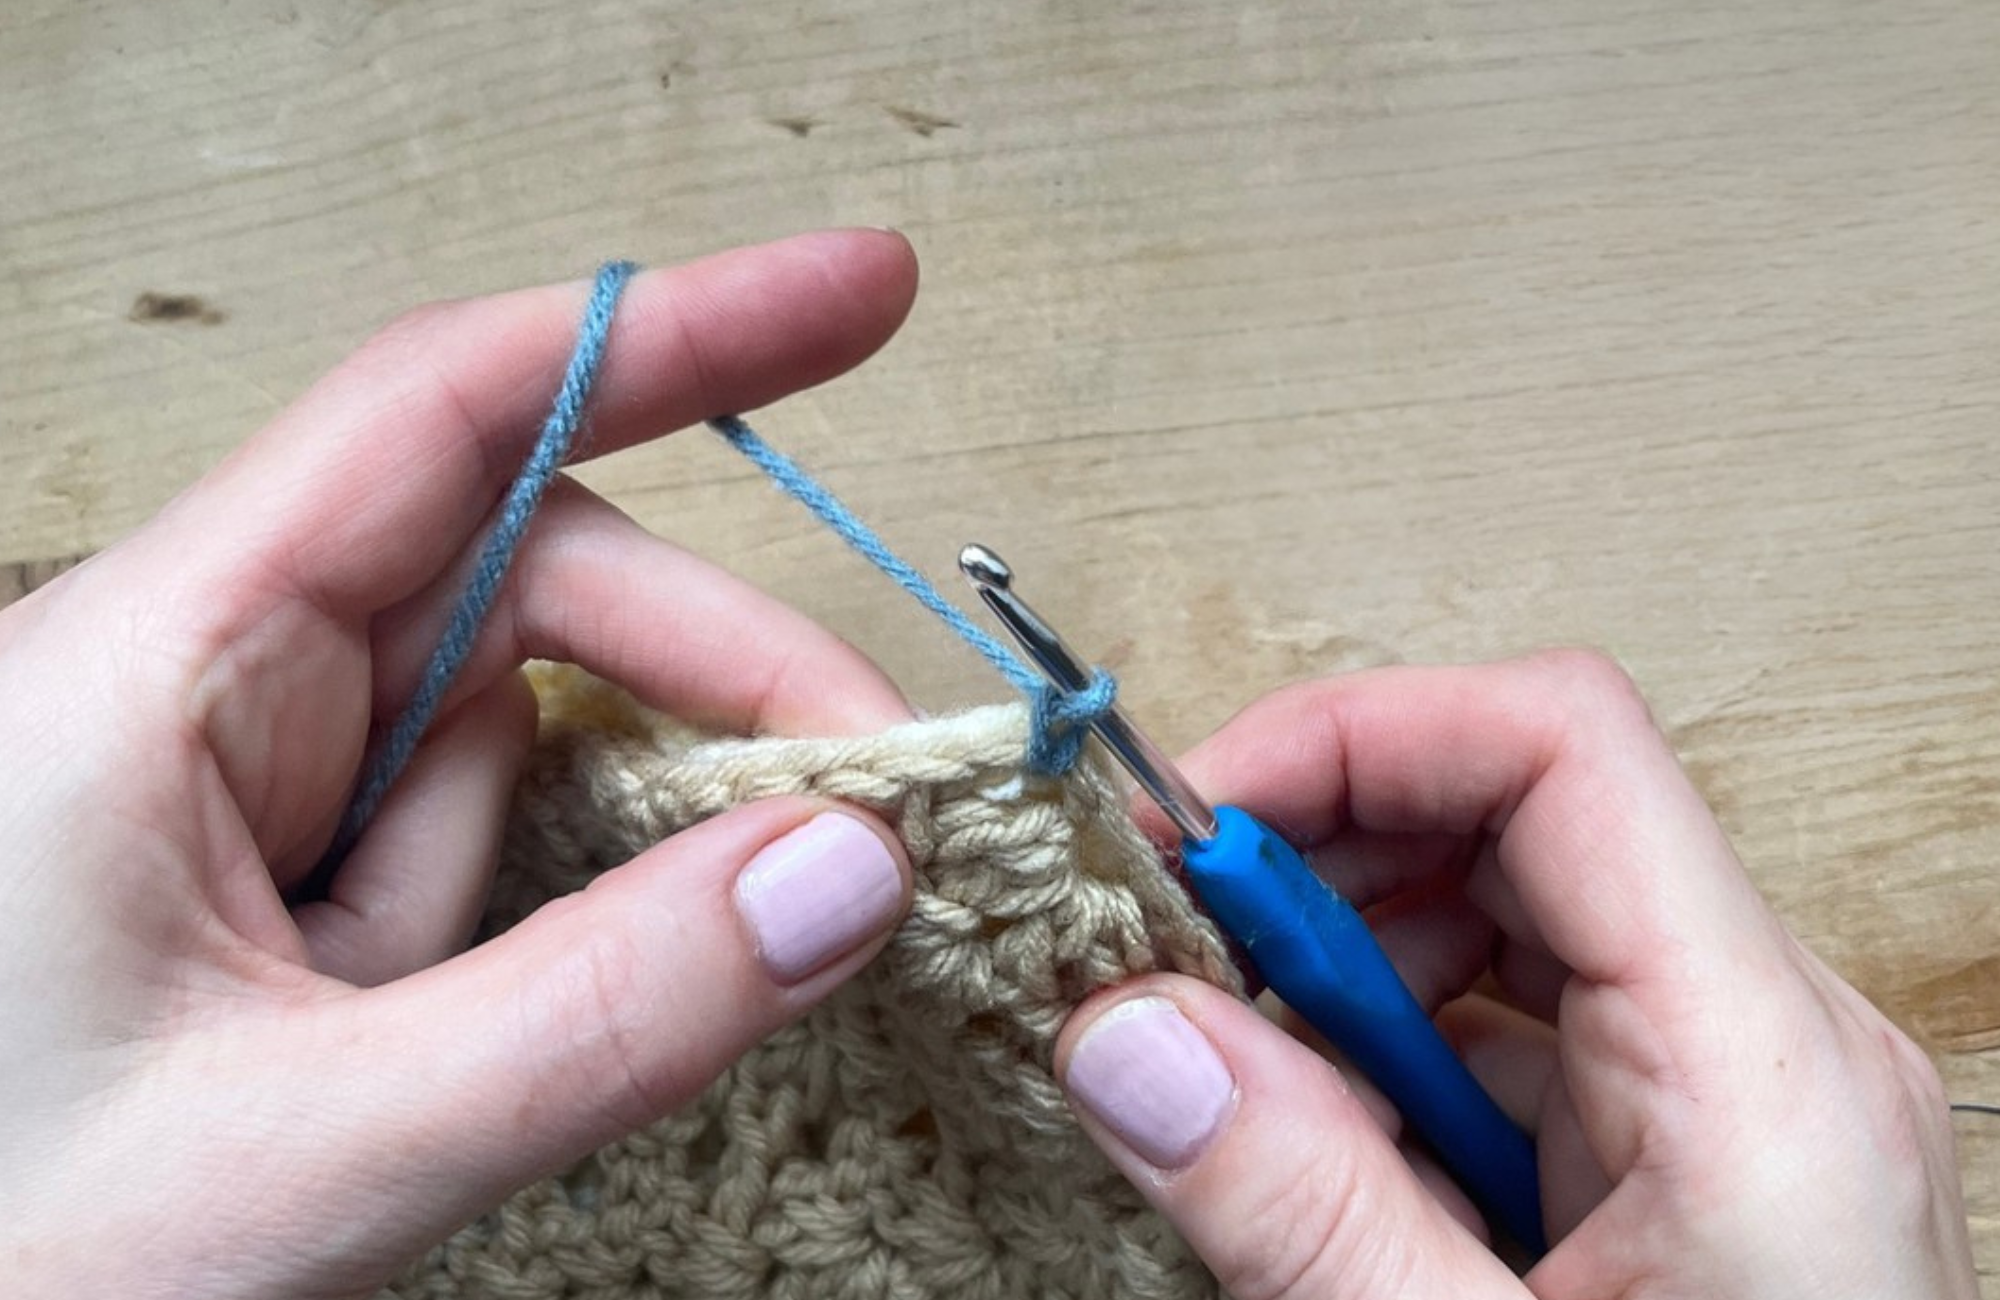
Step 2:
Insert your hook through the first corner stitch/spaces of both squares.
Pull up a loop and chain 1 to secure.
Step 3: Single crochet across
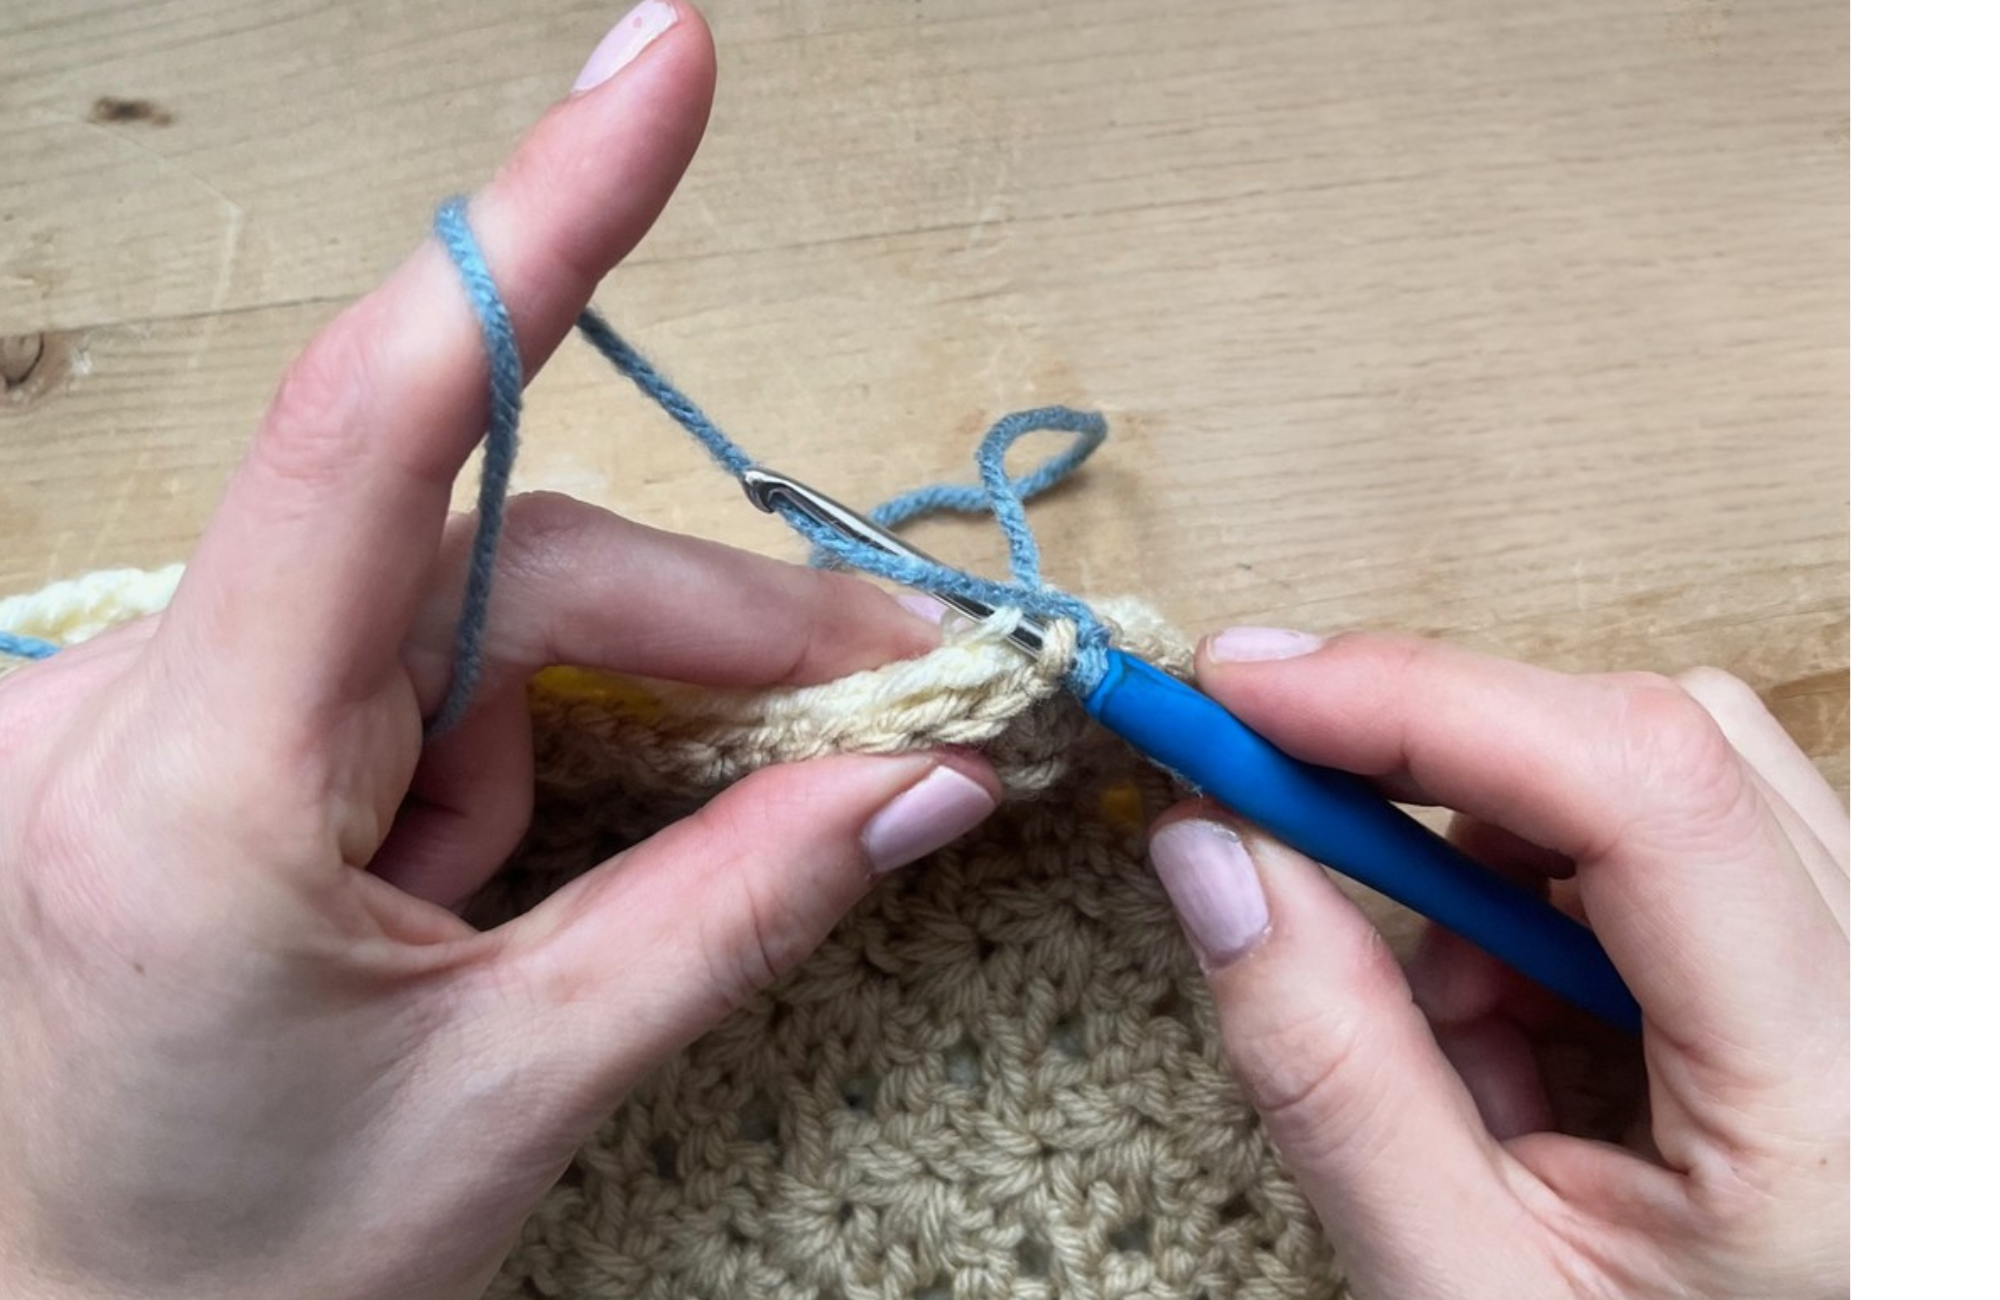
Work 1 single crochet (UK: dc) through both squares at the same time:
Insert your hook through the back loop of the next stitch on the first square and the matching back loop of the second square and create a UK Double Crochet/ US Single Crochet.
Yarn over, pull up a loop
Yarn over, pull through both loops
Repeat across the entire edge.
Step 4: Keep your stitches evenly spaced
This matters most if your squares have gaps or chain spaces.
Aim for consistency:
If edges are “stitch stitches”: 1 sc per stitch
If edges include chain spaces: treat the space as one stitch point unless it’s very large
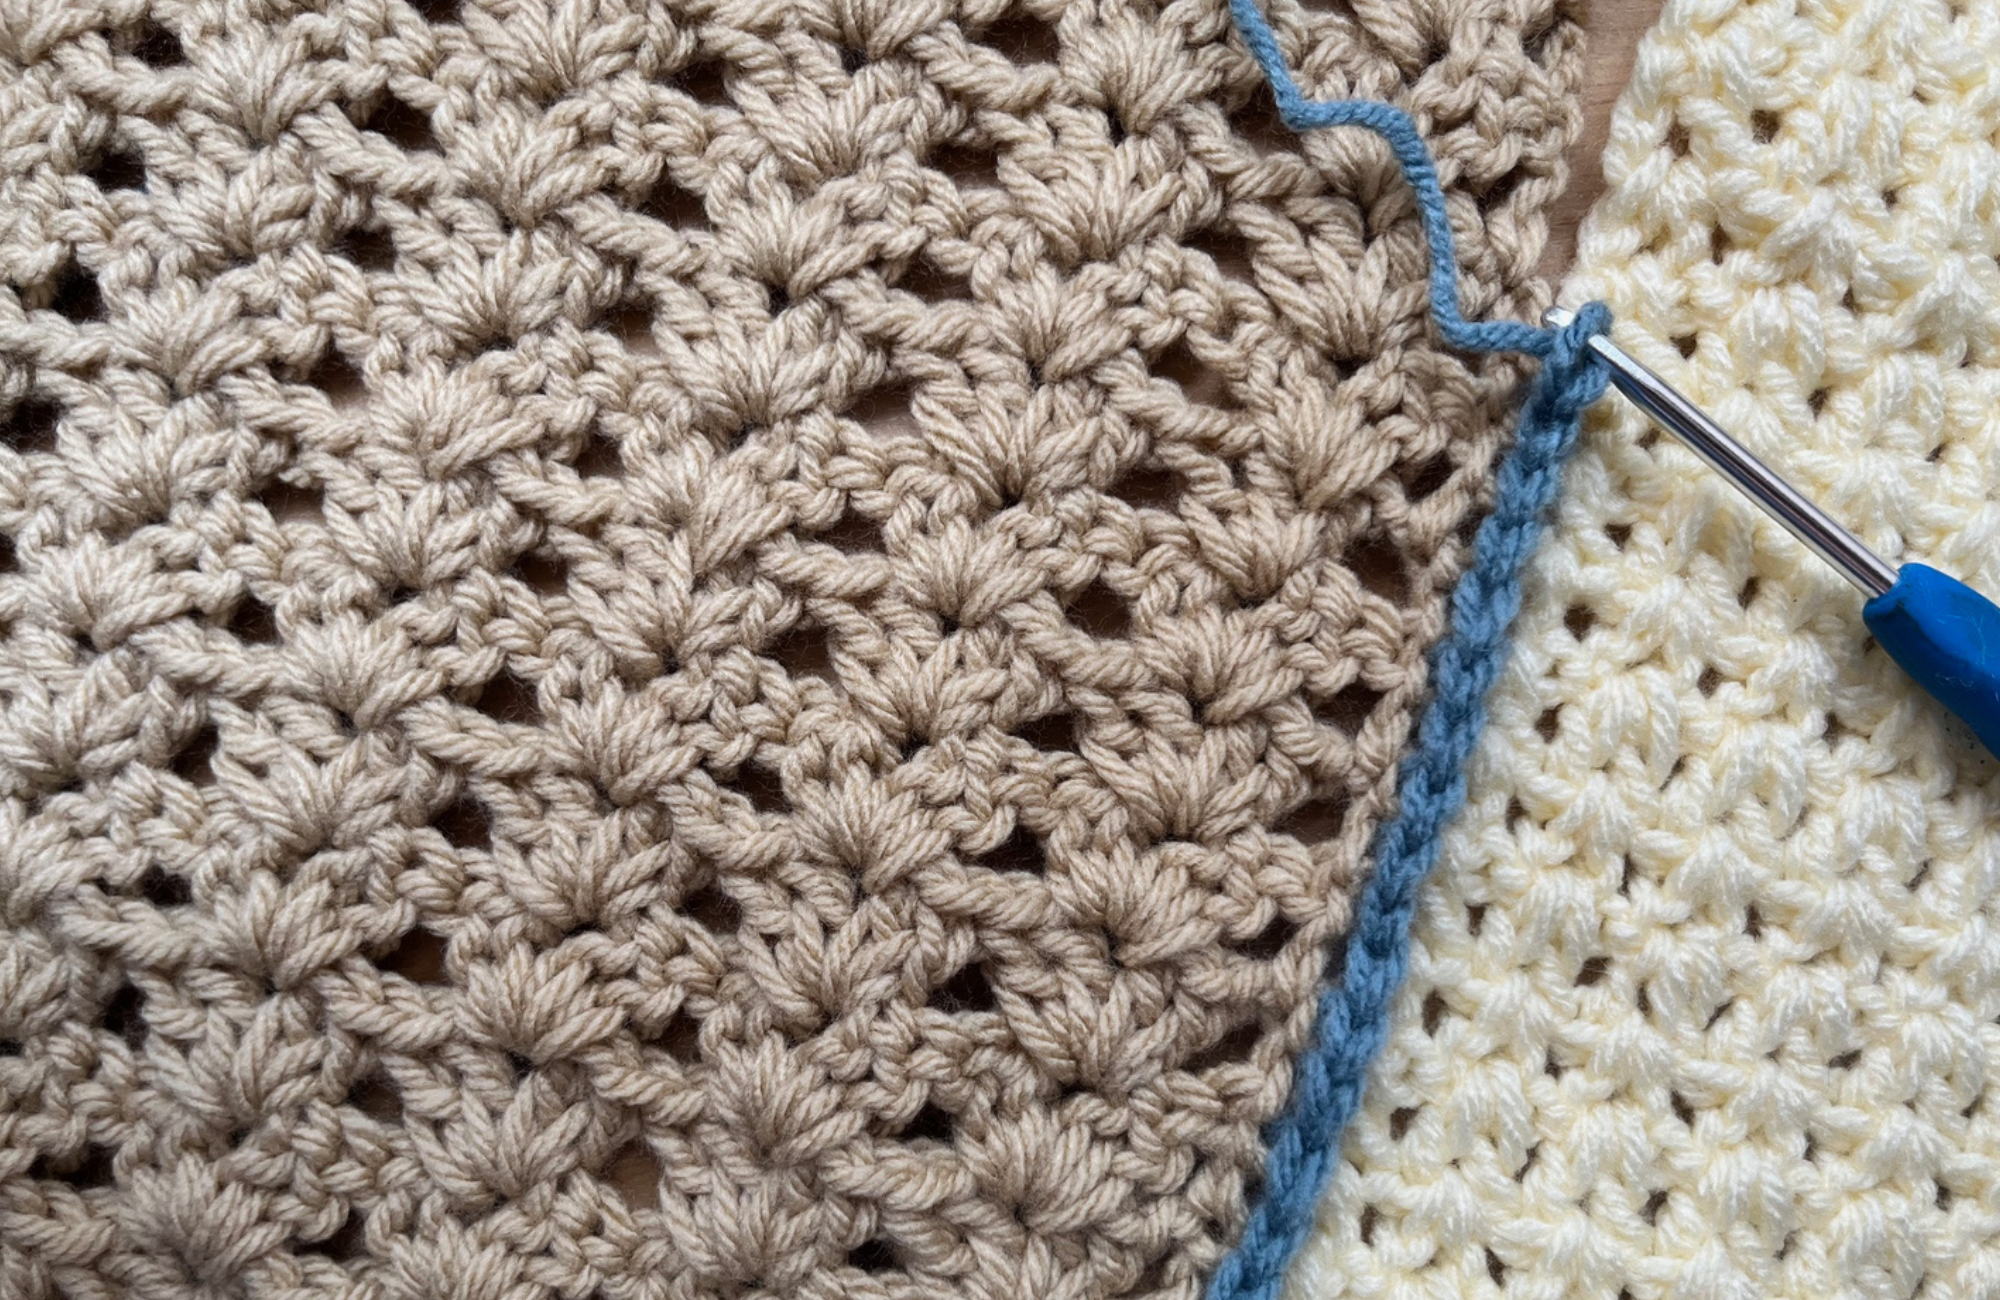
Step 5: Finish the seam
When you reach the end corner:
Work the final single crochet (UK: dc) into the corner stitch/space
Fasten off or continue directly into the next join if you’re joining a full row
My tips for this join
Don’t pull tight. A too-tight seam will make your blanket pucker.
If your join is stiff, go up one hook size.
This join looks amazing in a contrast colour if you want that “outlined squares” look.
Method 2: Slip Stitch Join (Quick + Subtle)
If you want something fast, neat, and less bulky, slip stitch joining is your friend.
Best for:
Lightweight blankets
A slightly flatter seam
When you want speed without sewing
Step-by-step: Slip Stitch Join
Step 1: Align square
Same setup as before:
Wrong sides together = ridge on front (very subtle ridge)
Right sides together = ridge on back
Step 2: Join yarn in the corner
Insert hook through both corner stitches/spaces.
Pull up a loop and chain 1 (optional, but it helps secure).

Step 3: Slip stitch across
For each stitch/space across:
Insert hook through the back loop of the next stitch in the first square, and the front loop of the next stitch of the second square. Slip stitch - Yarn over and pull through all loops on the hook (that’s your slip stitch)
Keep repeating this for each stitch across. Try to keep your tension loose while doing these slip stitches so your seam is not too tight.
Step 5: Finish
Slip stitch into the final corner stitch, fasten off, weave in ends.
My tip for this join
This is a natural tight stitch. If your square starts to pucker, you’re pulling too tight — loosen tension or size up your hook.
5 Powerful Ways Crochet Granny Squares Changed My Routine
And if you need a little reminder of why this slow, steady process matters, you’ll love 5 Powerful Ways Crochet Granny Squares Changed My Routine — because this blanket didn’t just grow your skills, it grew your consistency and confidence too
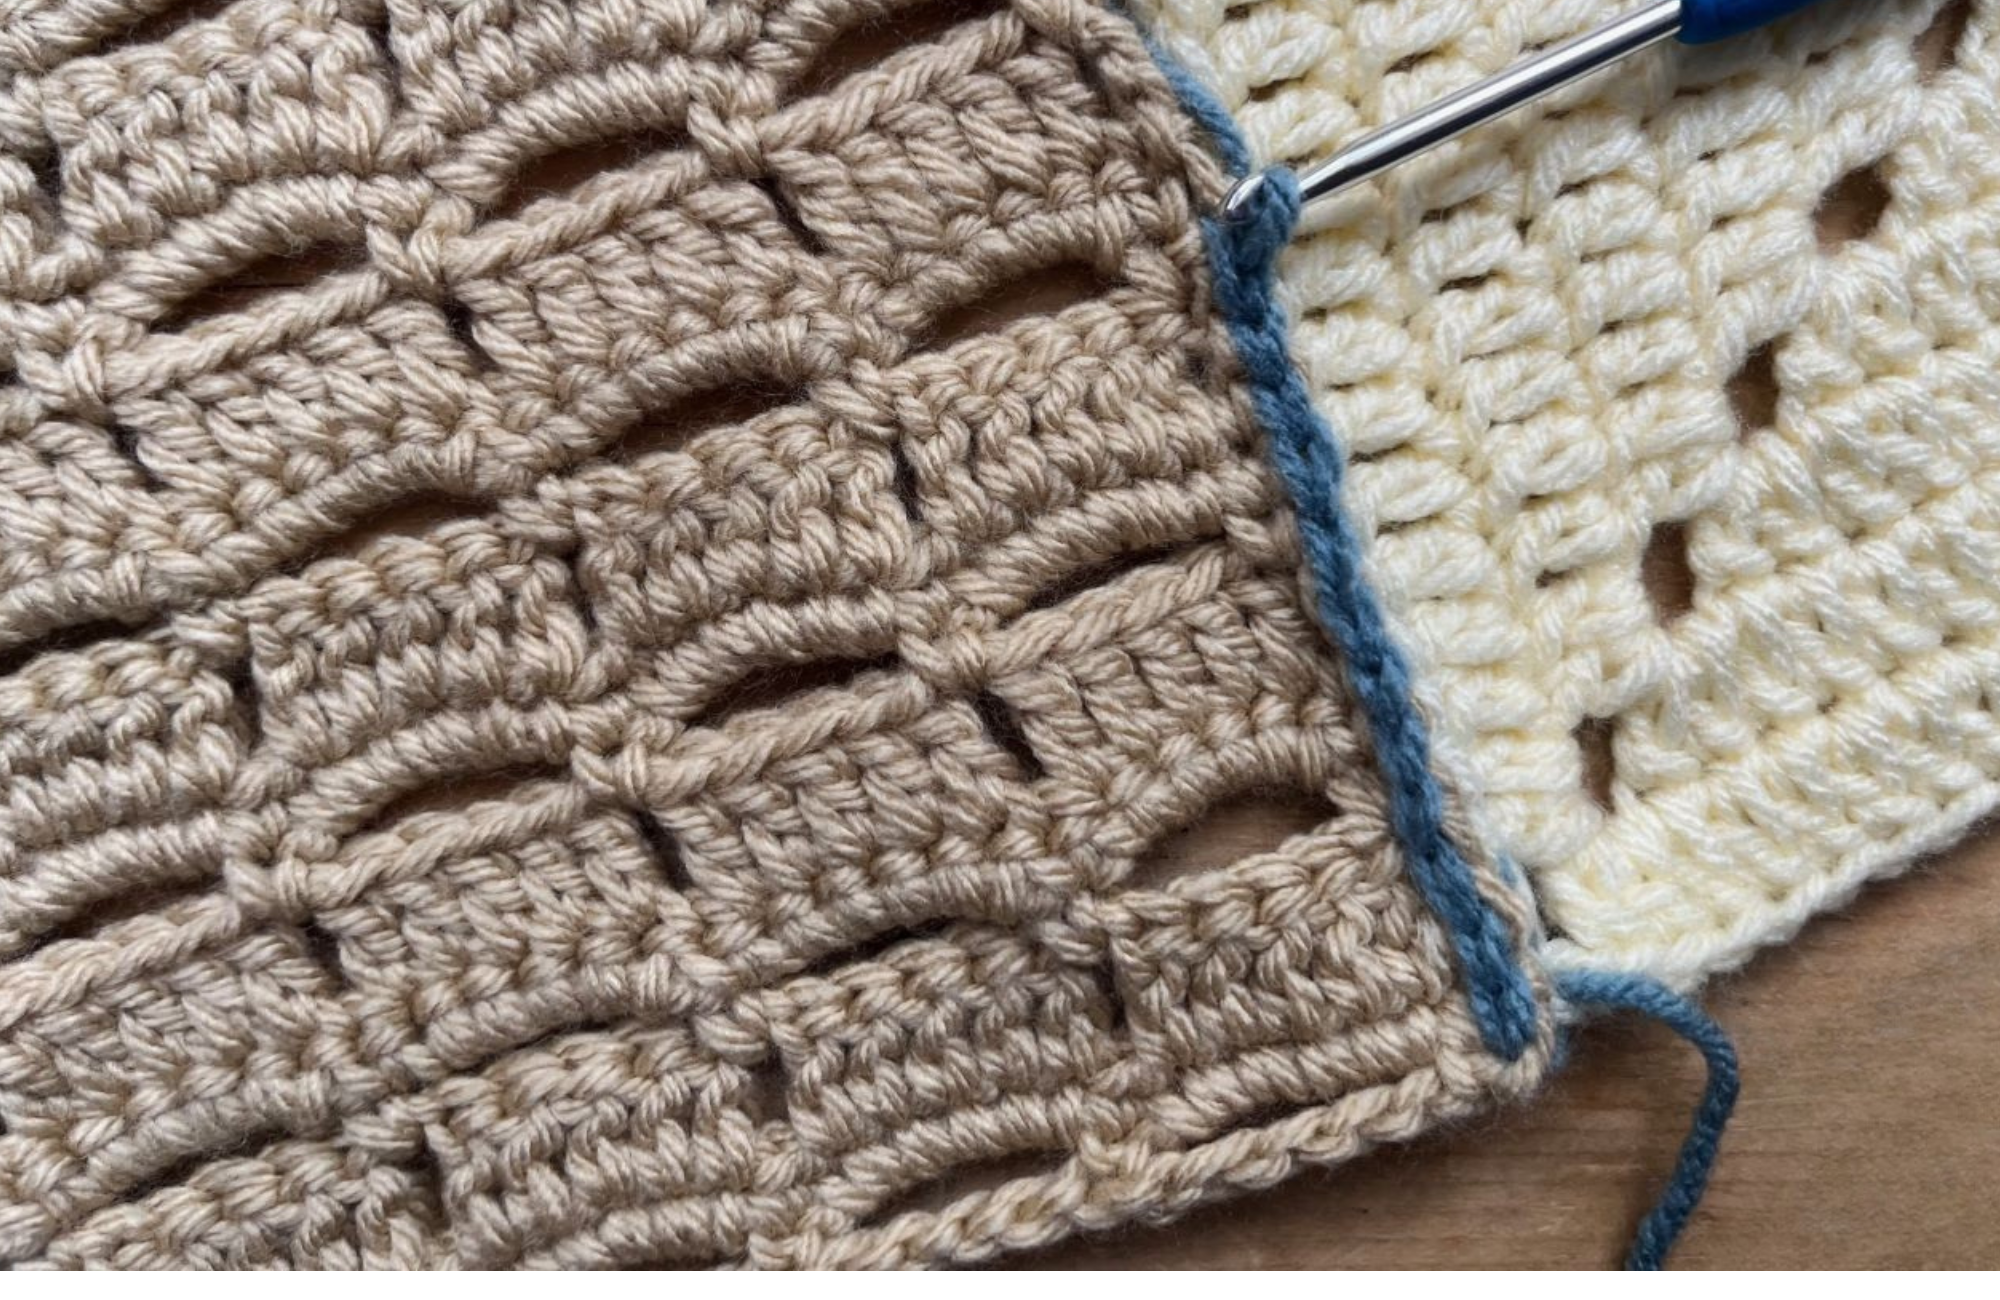
Method 3: Flat Crochet Join (Tidy + Decorative “Braided” Look)
This join is my go-to when I want something that looks intentional and polished, without adding too much bulk. It creates a pretty flat “braid” effect running along the seam.
Best for:
Clean, modern blankets
When you want a seam that looks like a design detail
Joining squares with clear stitch edges
Step-by-step: Flat Crochet Join
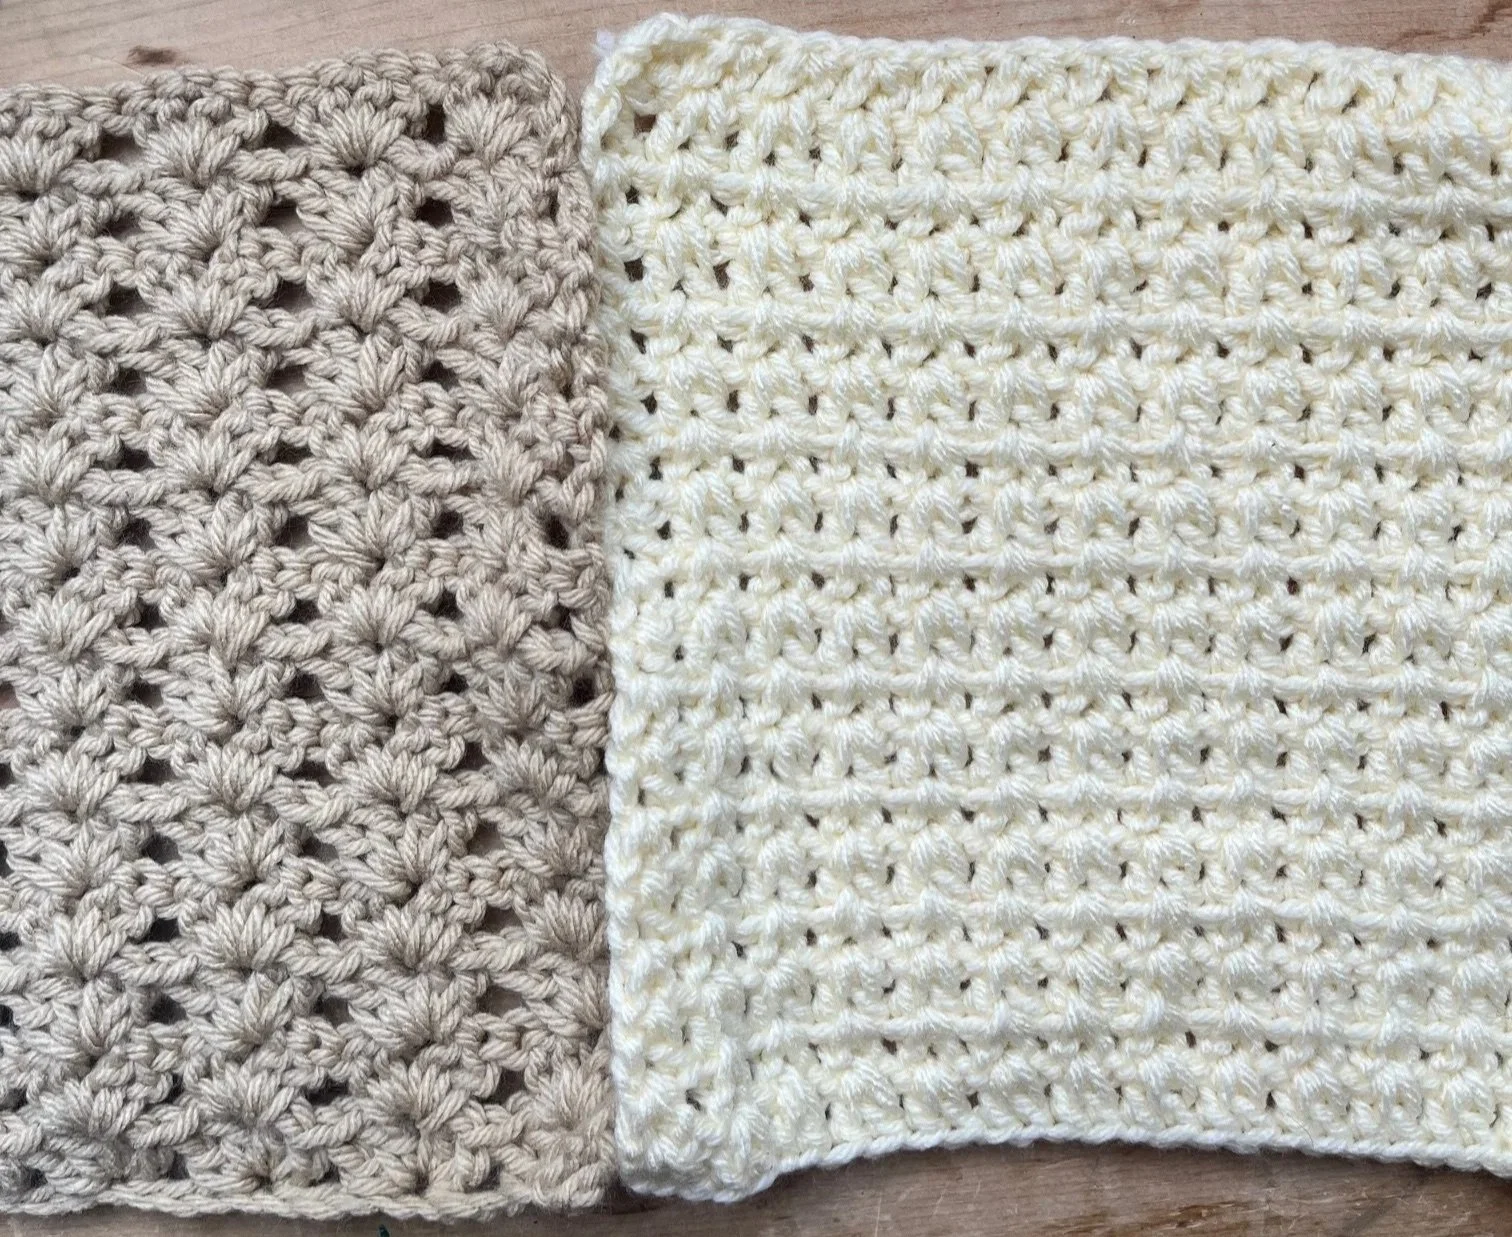
Step 1: Place squares side by side
Unlike the first two methods, you’ll place squares next to each other (not stacked).
As before, we will be attaching our yarn at the corner.
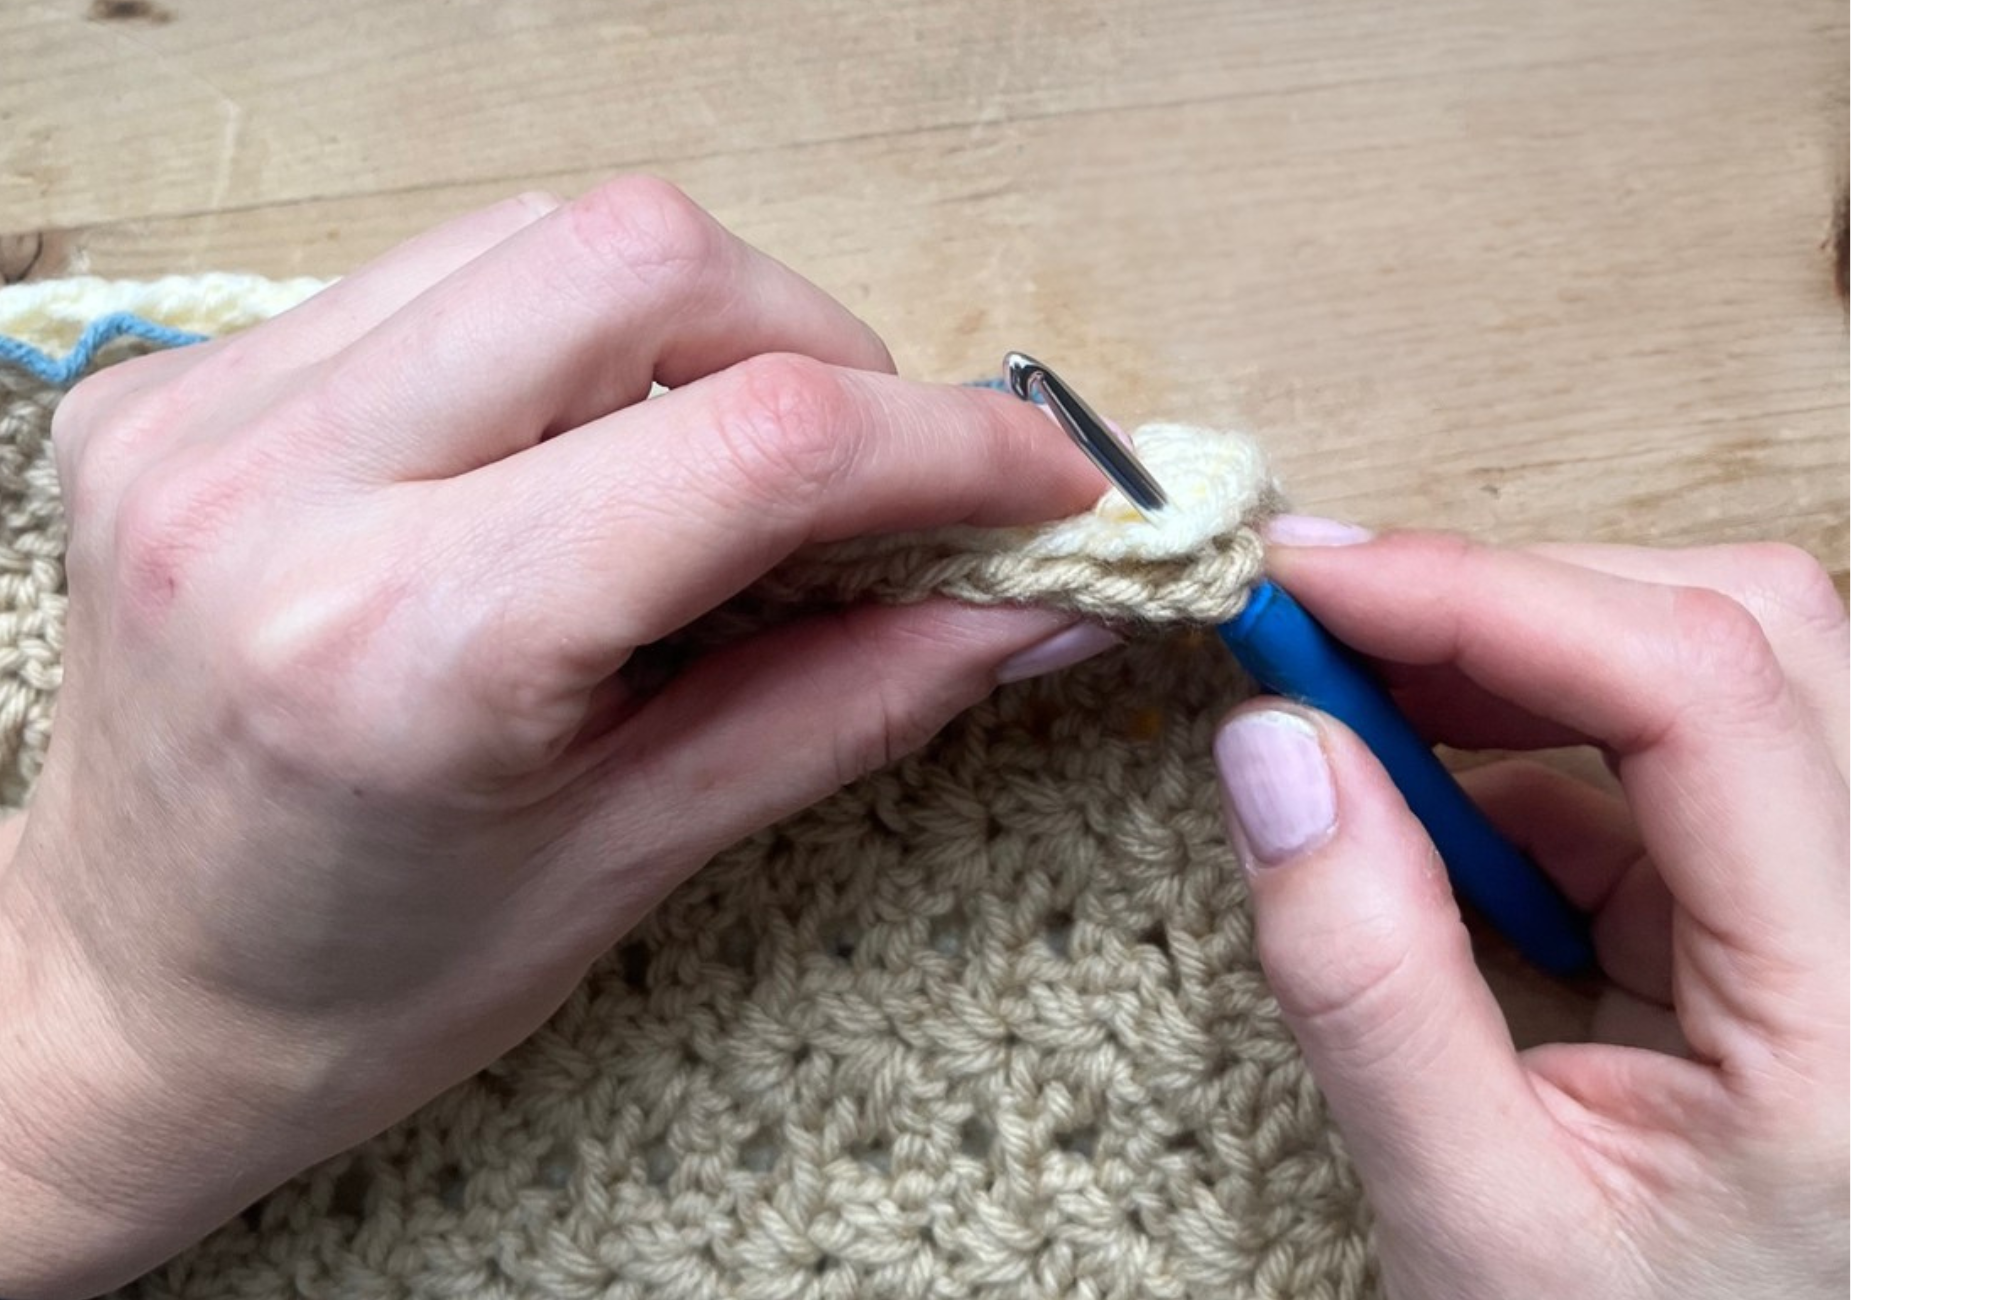
For the flat crochet join make sure to insert your hook on the same side every time, and be sure to keep your yarn under your squares.
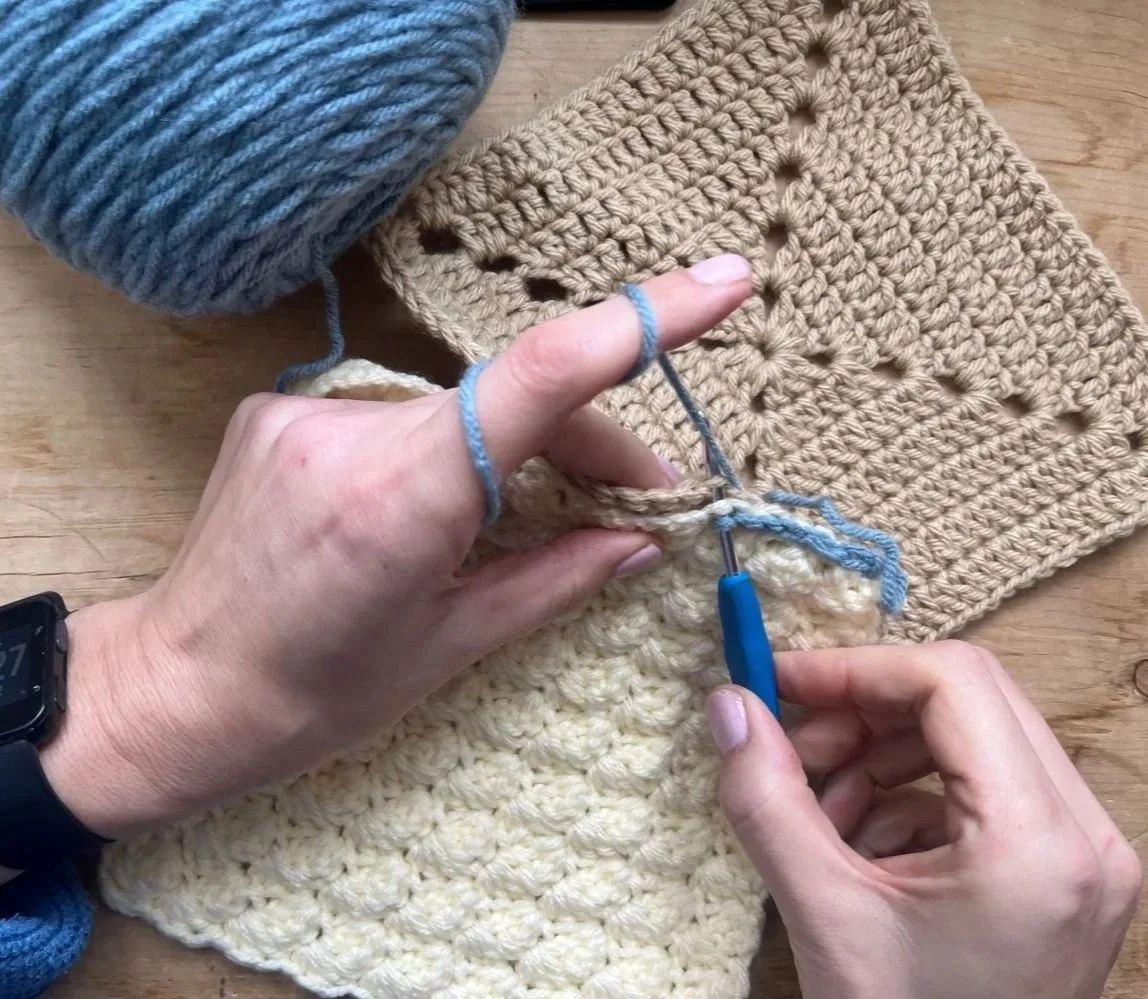
Insert hook into the back loop of next stitch on Square A, pull up loop
Insert hook into next back loop on Square B, pull up loop
Create a slip stitch
Continue across.
Step 6: Keep it flat
If the seam starts to ripple:
Check you’re going stitch-for-stitch
Make sure you aren’t skipping stitches on one square

Step 7: Finish
Work the last join into the corner stitch, fasten off, weave in ends.
My tips for this join
This join looks gorgeous in a contrast colour — it becomes a “feature line.”
If your squares have lots of chain spaces, Method 1 may be easier for the first time.
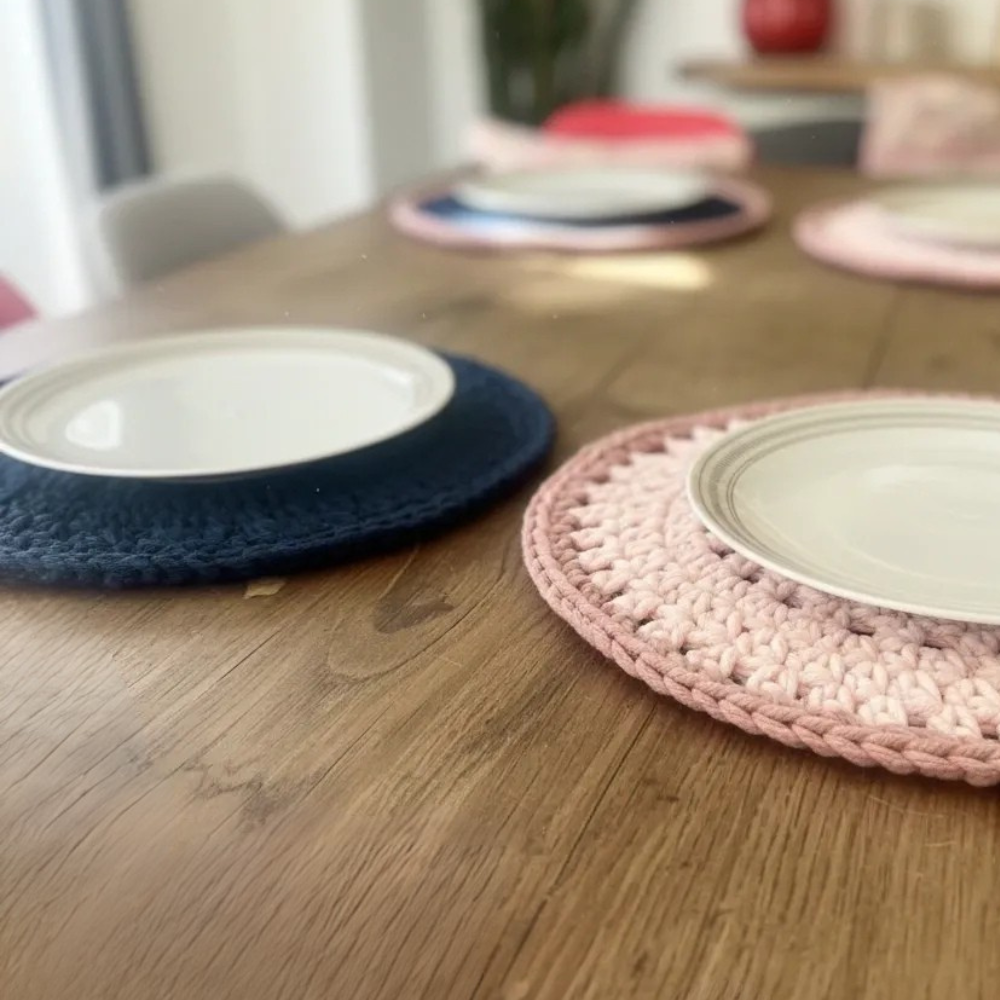
If you’re looking for a smaller, quick project to take a break from blanket-making, check out 5 Easy Crochet Coaster Ideas — How to Make Them for fun and fast finishes you can crochet in an afternoon.
Troubleshooting: Fix the 3 Most Common Joining Problems
“My blanket is puckering”
Your join is too tight
Try a larger hook
Relax tension (especially with slip stitches)
“My squares don’t line up perfectly”
Check stitch counts along the edge
If one square has an extra stitch, you can join two stitches into one discreetly
“The seams feel bulky”
Use slip stitch join or flat join
Consider joining through back loops only for a softer edge
What I’d Choose (If You Want the Quick Answer)
If you’re not sure which to use:
Want strong + beginner-proof? → Single Crochet Join
Want fast + subtle? → Slip Stitch Join
Want tidy + pretty detail? → Flat Crochet Join
And remember: there’s no “right” choice. The best join is the one that matches the look you want and feels doable for you.
If you’re planning your next project or thinking about upgrading your materials, you might enjoy my guide to Beautiful Eco-Friendly Yarns You Will Love to Work With — all sustainably sourced and perfect for cosy blankets (and so much more).
You Did It 🧶✨
Well done for completing your blanket.
Take a moment and really let that sink in.
Over 32 weeks — one square at a time — you’ve created 64 squares and turned them into a beautiful, full-sized blanket. That didn’t happen because you had endless time. It happened because you showed up in small, consistent steps.
Isn’t it amazing what can grow from something so simple?
One square.
One round.
One week at a time.
This is exactly how big projects come together — not in one burst of motivation, but in steady progress.
Be proud of yourself.
Enjoy your blanket.
Use it. Gift it. Display it.
And most importantly — remember what you’re capable of creating when you keep going.
What’s Next
Now that your squares are joined, you have two satisfying finishing steps:
Join your rows together (use the same method for consistency)
Add a border to smooth the outer edges and make it feel like a finished blanket
✨ Get the Crochet Pattern Customization Kit: This download it full of tips, techniques and cheat sheets to help you make each project uniquely yours. Get it here.
🧺 Try the Weekend Crochet Basket Mini Course: Looking for a quick, satisfying project to practice your stitches? The Basket Mini Course is perfect for creating a beautiful finished piece in just a weekend. Start it here.
More inspiring posts
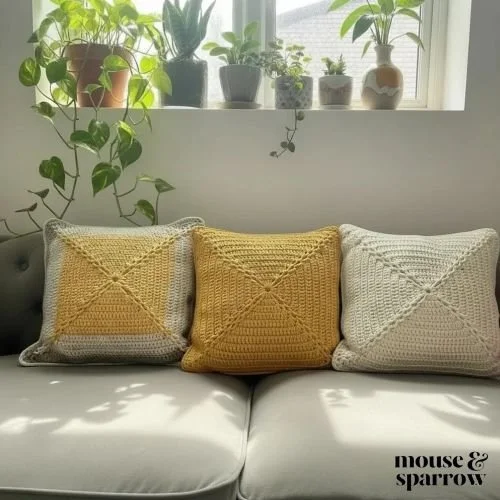
Instead of filling drawers with unfinished projects, why not crochet something you'll use every day? Discover practical crochet projects that add warmth, texture and personality to your home, from baskets and cushions to placemats and plant pot covers. Whether you're a beginner or looking for your next weekend make, these ideas will inspire you to create beautiful handmade home décor that becomes part of everyday life.